This post and photos may contain Amazon or other affiliate links. If you purchase something through any link, I may receive a small commission at no extra charge to you. Any supplies used may be given to me free of charge, however, all projects and opinions are my own.
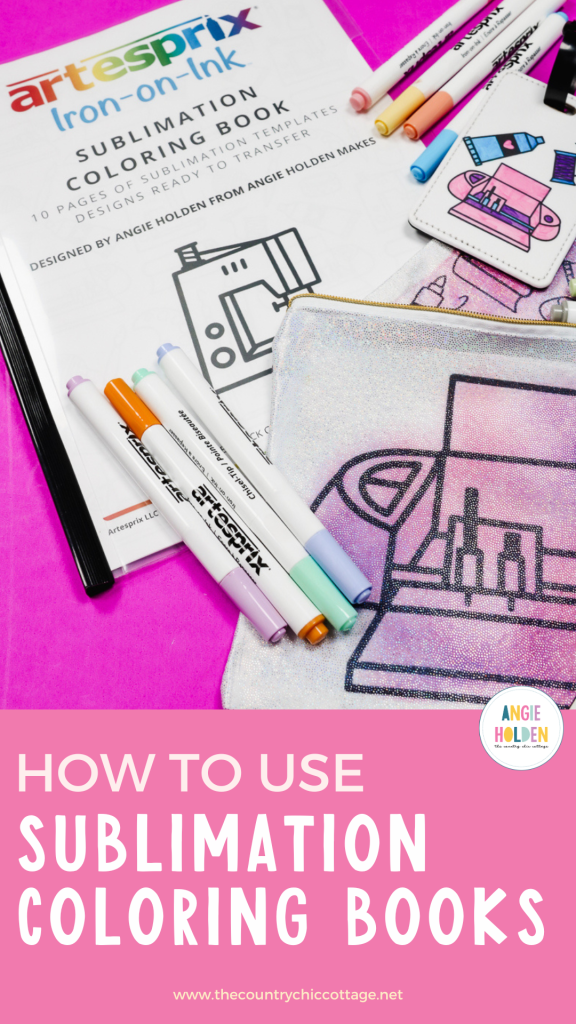
I am so excited to show you a new product from Artesprix. These sublimation coloring books come in a variety of different themes and are perfect for all ages and abilities.
Regardless of where you are on your sublimation journey, I promise you’ll have fun with these coloring books.
You do need a heat source to use these coloring books. For my projects today, I am using both the Cricut Mug Press and a Cricut EasyPress. You can use other heat or tumbler presses, you just need to be sure they get hot enough for sublimation.

I am making a variety of different projects today using different sublimation ink options. There is a project here for everyone.
You can watch me make all the different projects by pressing play on the video below.
What are Sublimation Coloring Books?
Sublimation coloring books are perfect for people who don’t own a sublimation printer. If you’ve wanted to get into sublimation but aren’t sure where to start, I highly recommend these coloring books.
That being said, I am very experienced with sublimation, and I had a lot of fun making projects with the coloring books. These are also great if you want to try different sublimation options like stamp pads, pens, markers, paints, etc.
These coloring books are sublimation ink printed onto sublimation paper from a sublimation printer that you can color with sublimation ink.
Because the coloring pages are already printed with sublimation ink, you could press them as is and color them later, creating color your own projects.
Craft Elements Sublimation Coloring Book
Artesprix has a lot of different coloring book options, and depending on the coloring book you select, it also comes in different sizes.
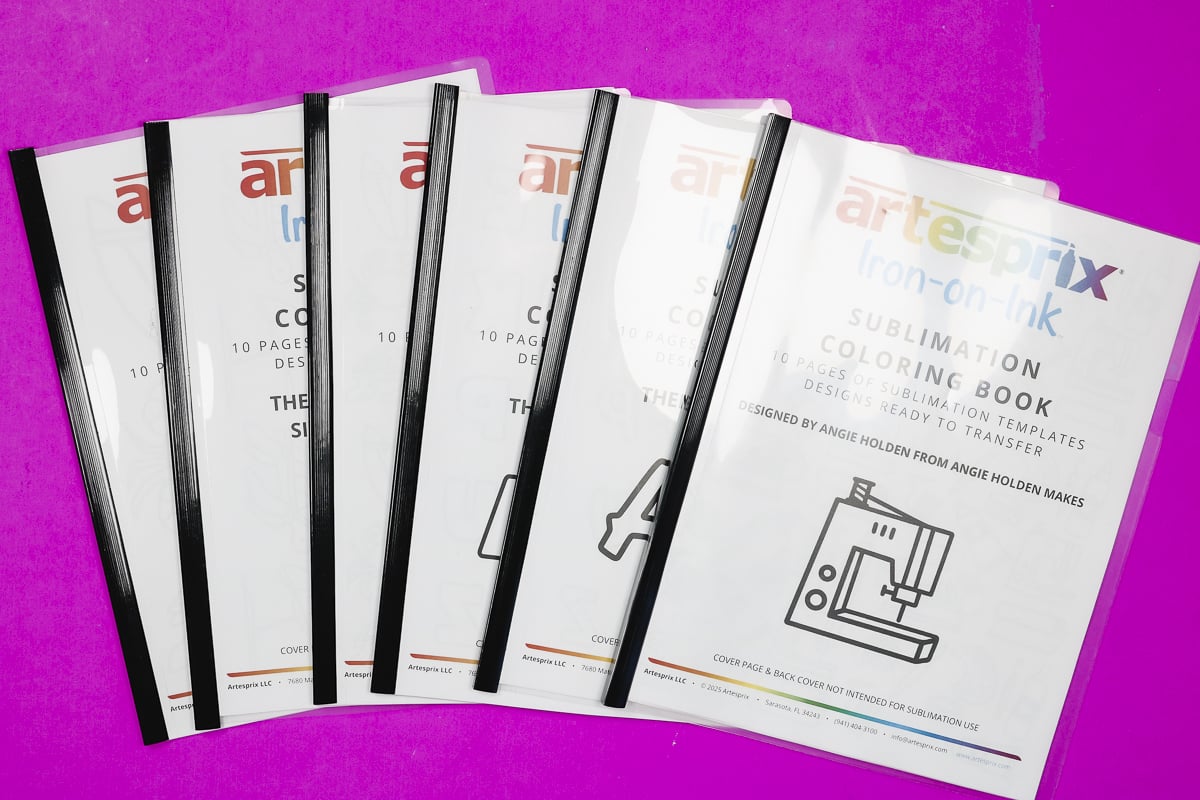
You can find coloring books in a lot of different themes, including different fonts.
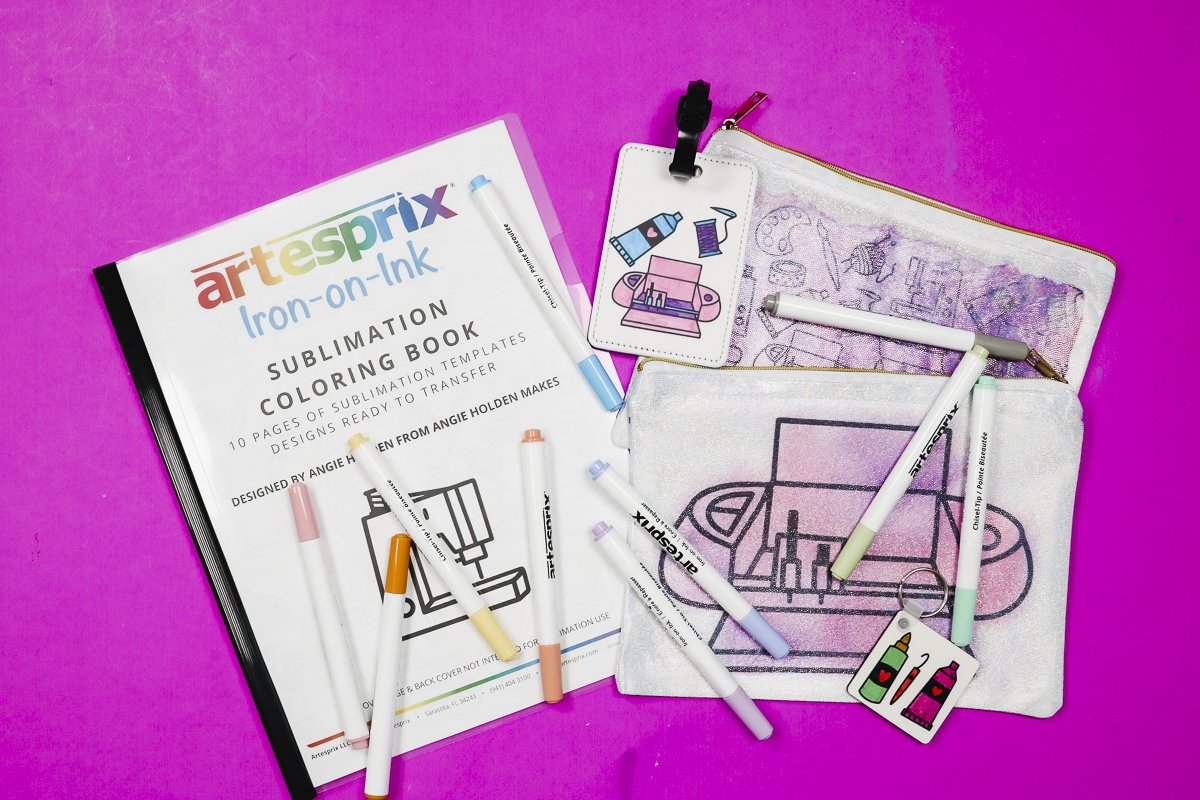
I actually designed the Craft Elements sublimation coloring book, and I am going to use it today. My coloring book comes with designs in different sizes, so you can use it for a variety of projects in different sizes.
In my coloring book, there are two copies of each page, and I set them up in different ways so they can be used for mugs, different-sized shirts, keychains, and more.
Using Sublimation Coloring Books
These sublimation coloring books are different than a traditional coloring book. They do not have a bound spine, so you don’t have to tear out the pages to use them.
To use the coloring book, you’ll slide the black piece off the edge and remove the plastic cover.
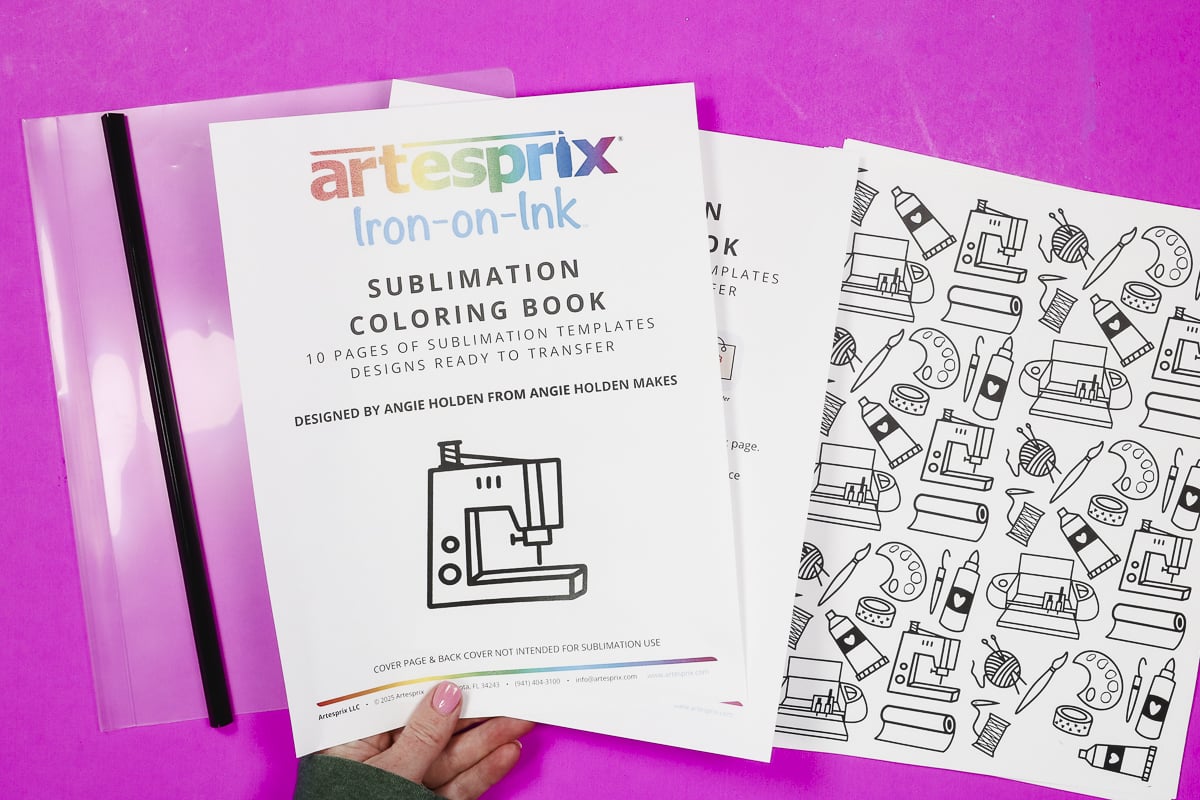
All of the pages are loose, so you can use them however you want.
The cover page and back page are not printed with sublimation ink, so you can not use those for projects, but you can use all the pages in between.
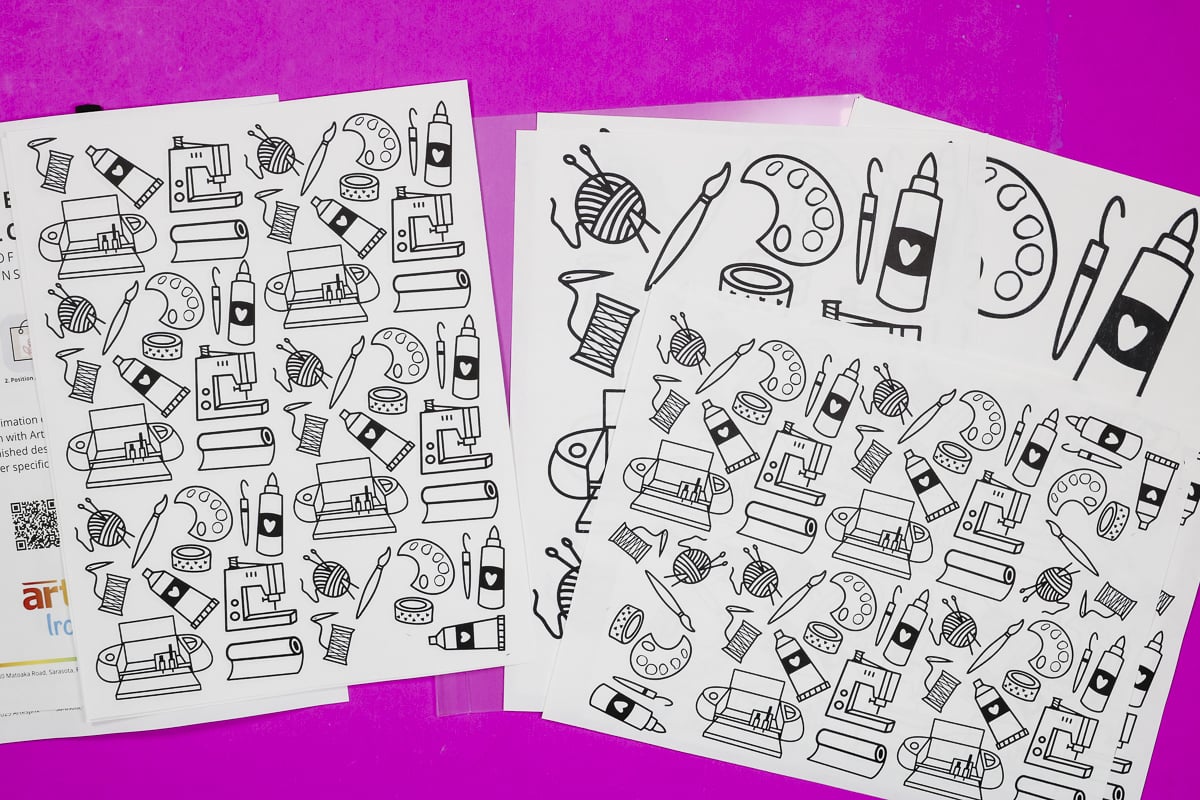
The sublimation pages are prepped correctly for sublimation projects. That means any text or numbers will be mirrored so they transfer correctly.
Getting the Correct Blanks for Sublimation
For sublimation projects, you need specific sublimation blanks. Any fabric needs to be white or light in color and have at least 65% polyester content. Hard blanks also need to be white or light in color and have a poly coating on them.
How to Use Sublimation Coloring Books
The sublimation ink source and blanks we’re using today will depend on the project we’re making. Anything you color on the coloring pages needs to be done with some type of sublimation ink, or it will not transfer.
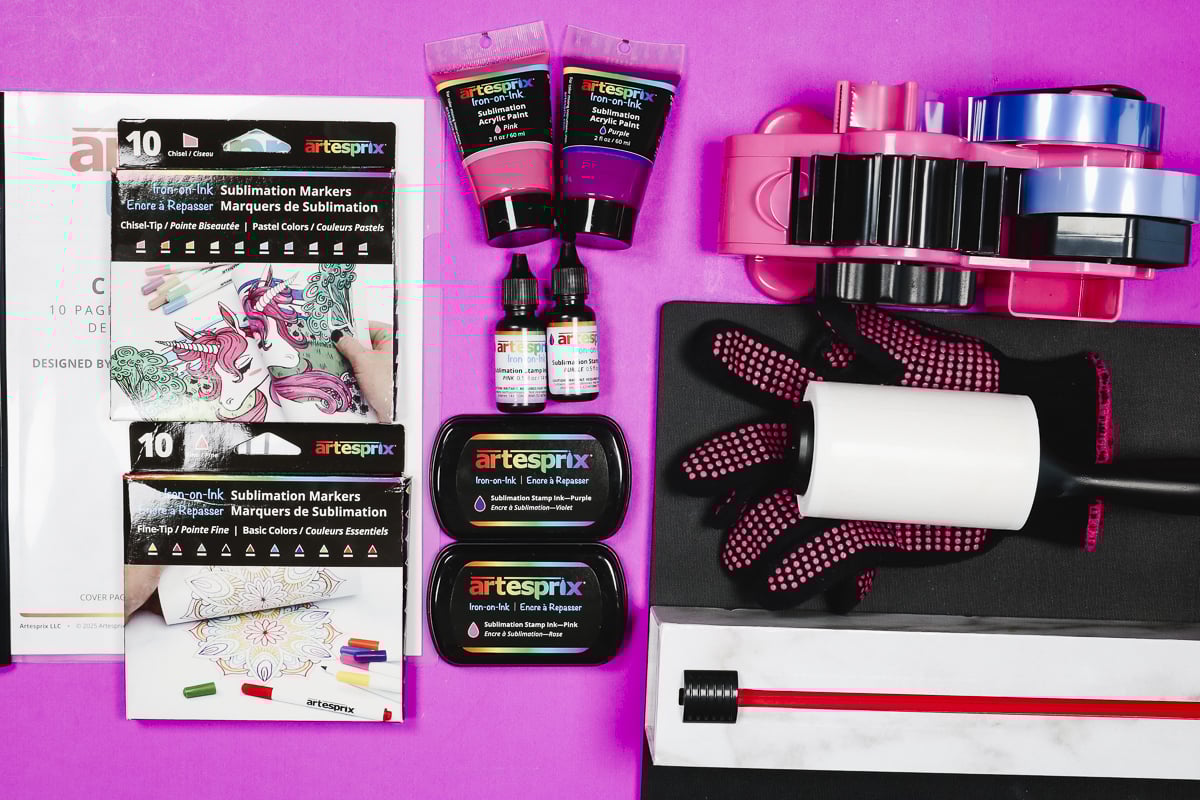
Supplies Used Today
Sublimation Coloring Books
Sublimation Ink Options:
Blanks Used:
Other Supplies:
Make a Custom Mug with Sublimation Coloring Pages
The first project I’m going to make today is a sublimation mug. This mug is a sublimation blank, so it has a special coating on it that will allow it to accept the sublimation ink.
Preheat the mug press. To do this, you just plug it in and allow it to heat up.
Step 1. Prep the Sublimation Page
The sublimation coloring book pages are 8.5 x 11 inches. To make a sublimation mug, I do not need the entire page, so I trimmed the page to fit around the sublimation mug.
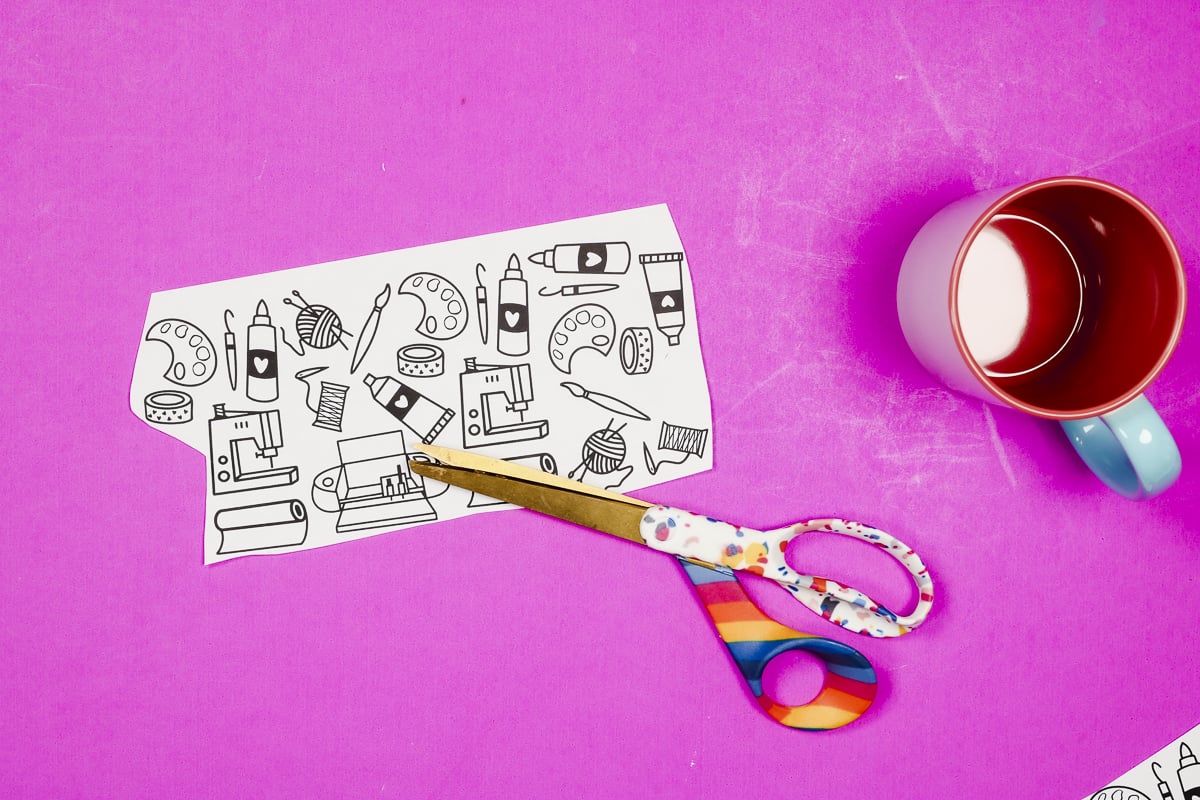
Trimming the page before coloring it leaves the rest of the page for a future project. Make sure when measuring the mug, you leave room on each side of the mug handle for the mug press.
Step 2. Color the Sublimation Page
I am using Artesprix sublimation markers for this project. With these markers, I put them tip down for a couple of hours before coloring so they are ready to use.
All of the black ink on the sublimation coloring page is sublimation ink, so that will all transfer when heat is applied. If you color over that area, it will still transfer black.
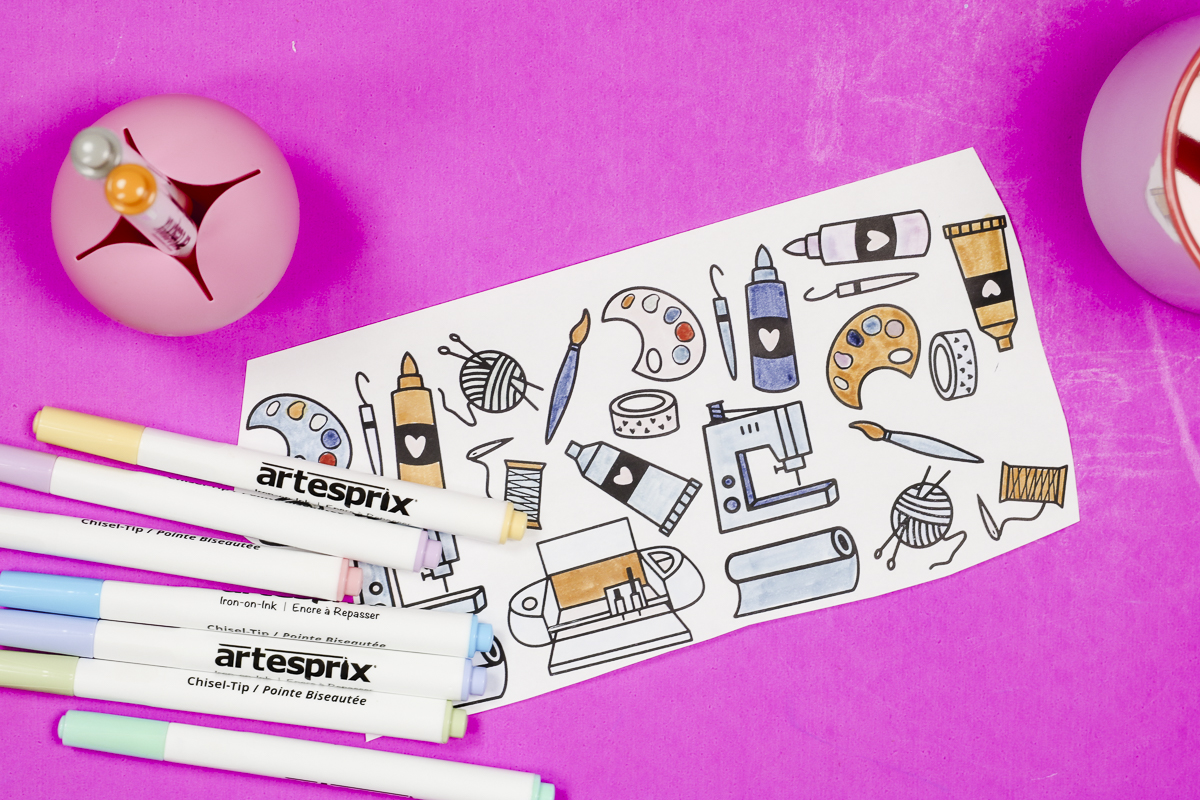
You can use any color combination you want for your design. The ink color will look different until it is pressed. For a more accurate representation of the colors, look at the marker lid.
Allow the sublimation ink to dry completely before moving on.
Step 3. Prepare the Sublimation Mug
To prepare the sublimation mug, you first need to clean it. I used a lint roller to remove any dust, hair, or other debris. If needed, you can use a lint-free cloth and rubbing alcohol to clean the mug. Allow it to dry completely before applying the sublimation print.
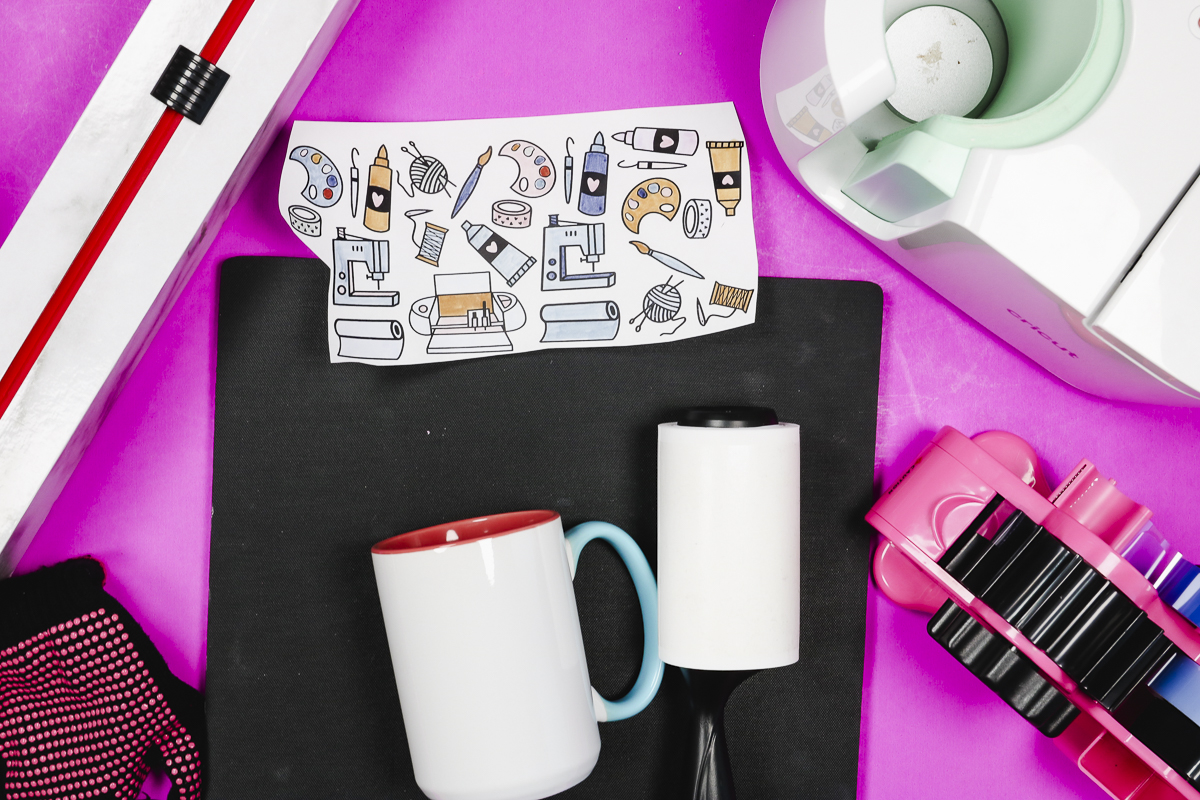
Step 4. Locate Sublimation Print on Mug
Wrap the sublimation coloring page around the mug and use heat-resistant tape to secure it in place.
Make sure the print is wrapped really tightly around the mug. We don’t want any air pockets.
I like to protect my mug press from sublimation ink, especially when using sublimation markers, paint, etc. Wrap a piece of protective paper around the mug and secure with heat-resistant tape.
Step 5. Press Sublimation Mug
Once the mug press is heated up, place the mug inside and close it.
The Cricut Mug Press doesn’t have a timer, it is very easy to use. You can watch the dots move across the top, and it will beep when it’s done.
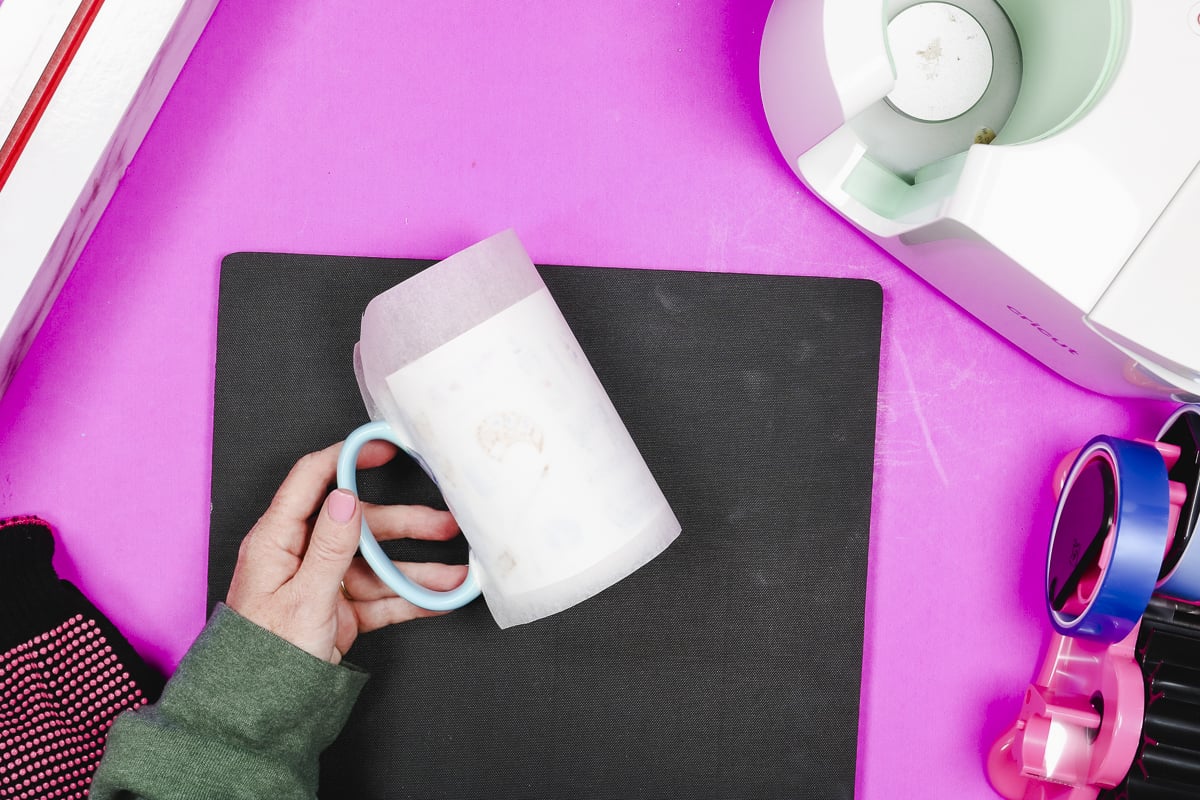
When the time is up, remove the mug from the mug press and set it on a heat-resistant mat. Allow to cool and remove the protective paper and sublimation print.
Note – if the sublimation paper sticks to your mug, you can soak it in water and it will come off. It will not impact the sublimation print on the mug at all.
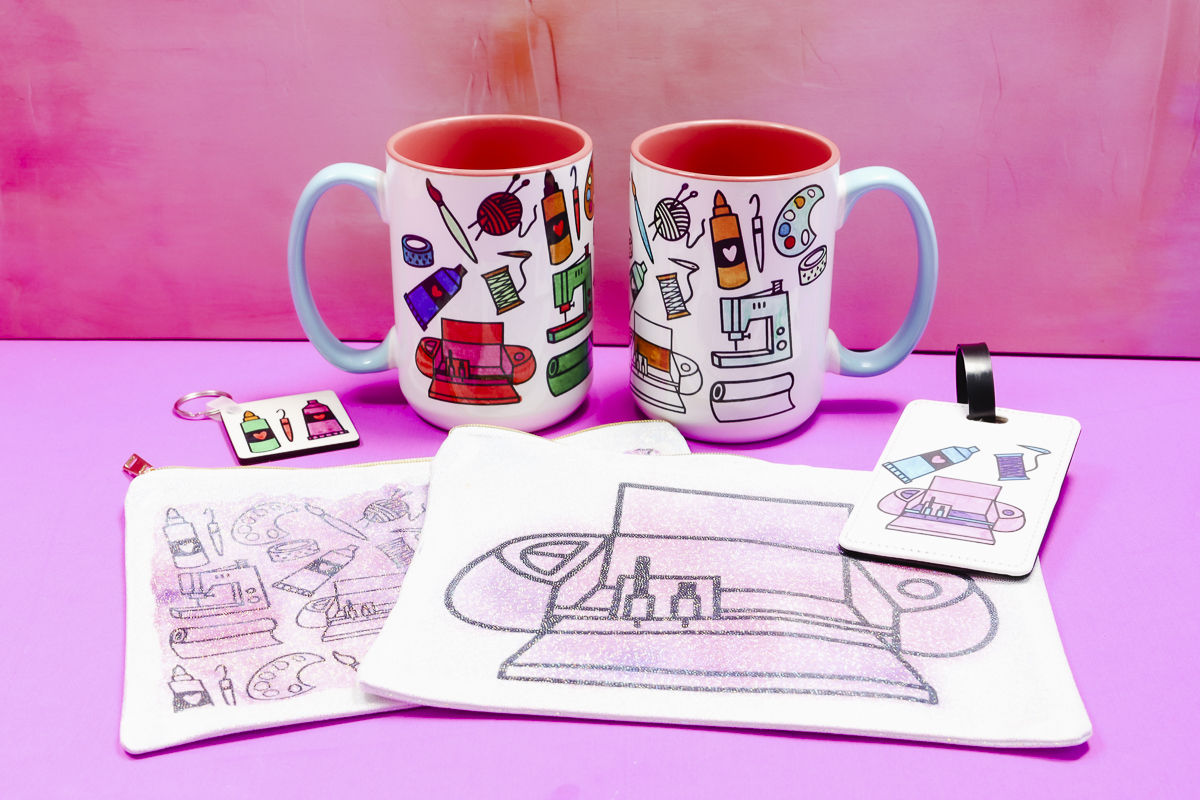
Step 6. Enjoy Your Sublimation Mugs
Here you can see how well the sublimation transferred to the mug. This is such a fun way to create customized mugs.

The sublimation ink is permanent on the mugs making these a great gift to give.
I did want to note the difference between the mug on the left and the mug on the right.
These sublimation markers are stored lying flat. The mug on the right has a print that was colored using the markers after they were placed tip down for about an hour. The mug on the left was made using the same markers, but they were stored tip down overnight.
If you want a more vibrant print, make sure to give the markers plenty of time to get the ink to the tip. If you want a more pastel loo,k use them within a couple of hours of placing them tip down.
Make a Zipper Pouch with a Sublimation Coloring Book
For my next project, I am using the coloring pages to create a customized zipper pouch. This zipper pouch is a sublimation blank. This won’t work on just a regular zipper pouch.
Step 1. Prepare the Sublimation Print
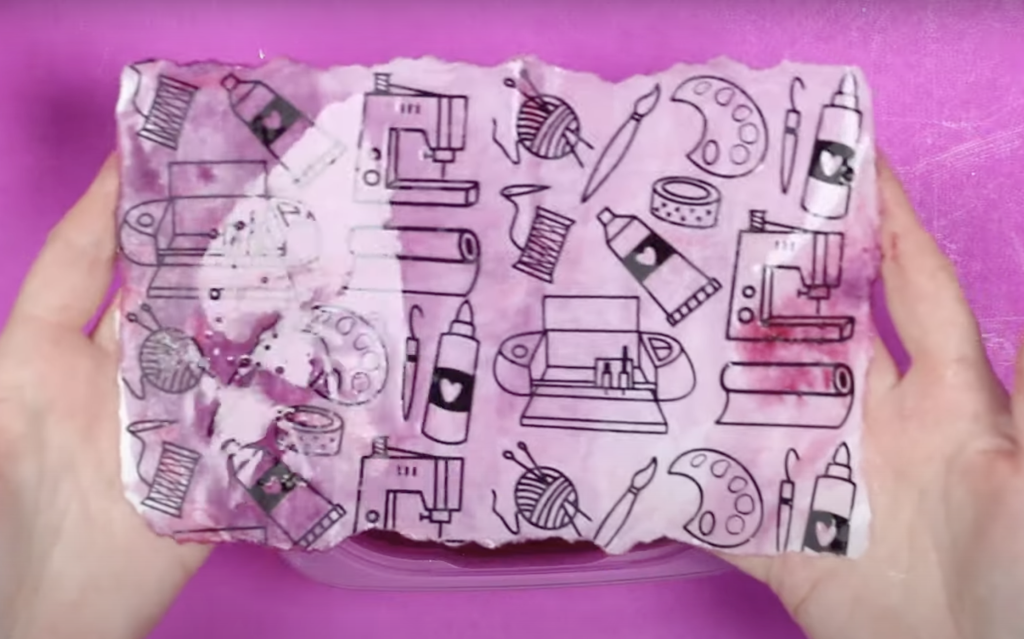
I want to use the all-over pattern design for this project. The sheet is larger than the zipper pouch, so I trimmed it to fit the pouch.
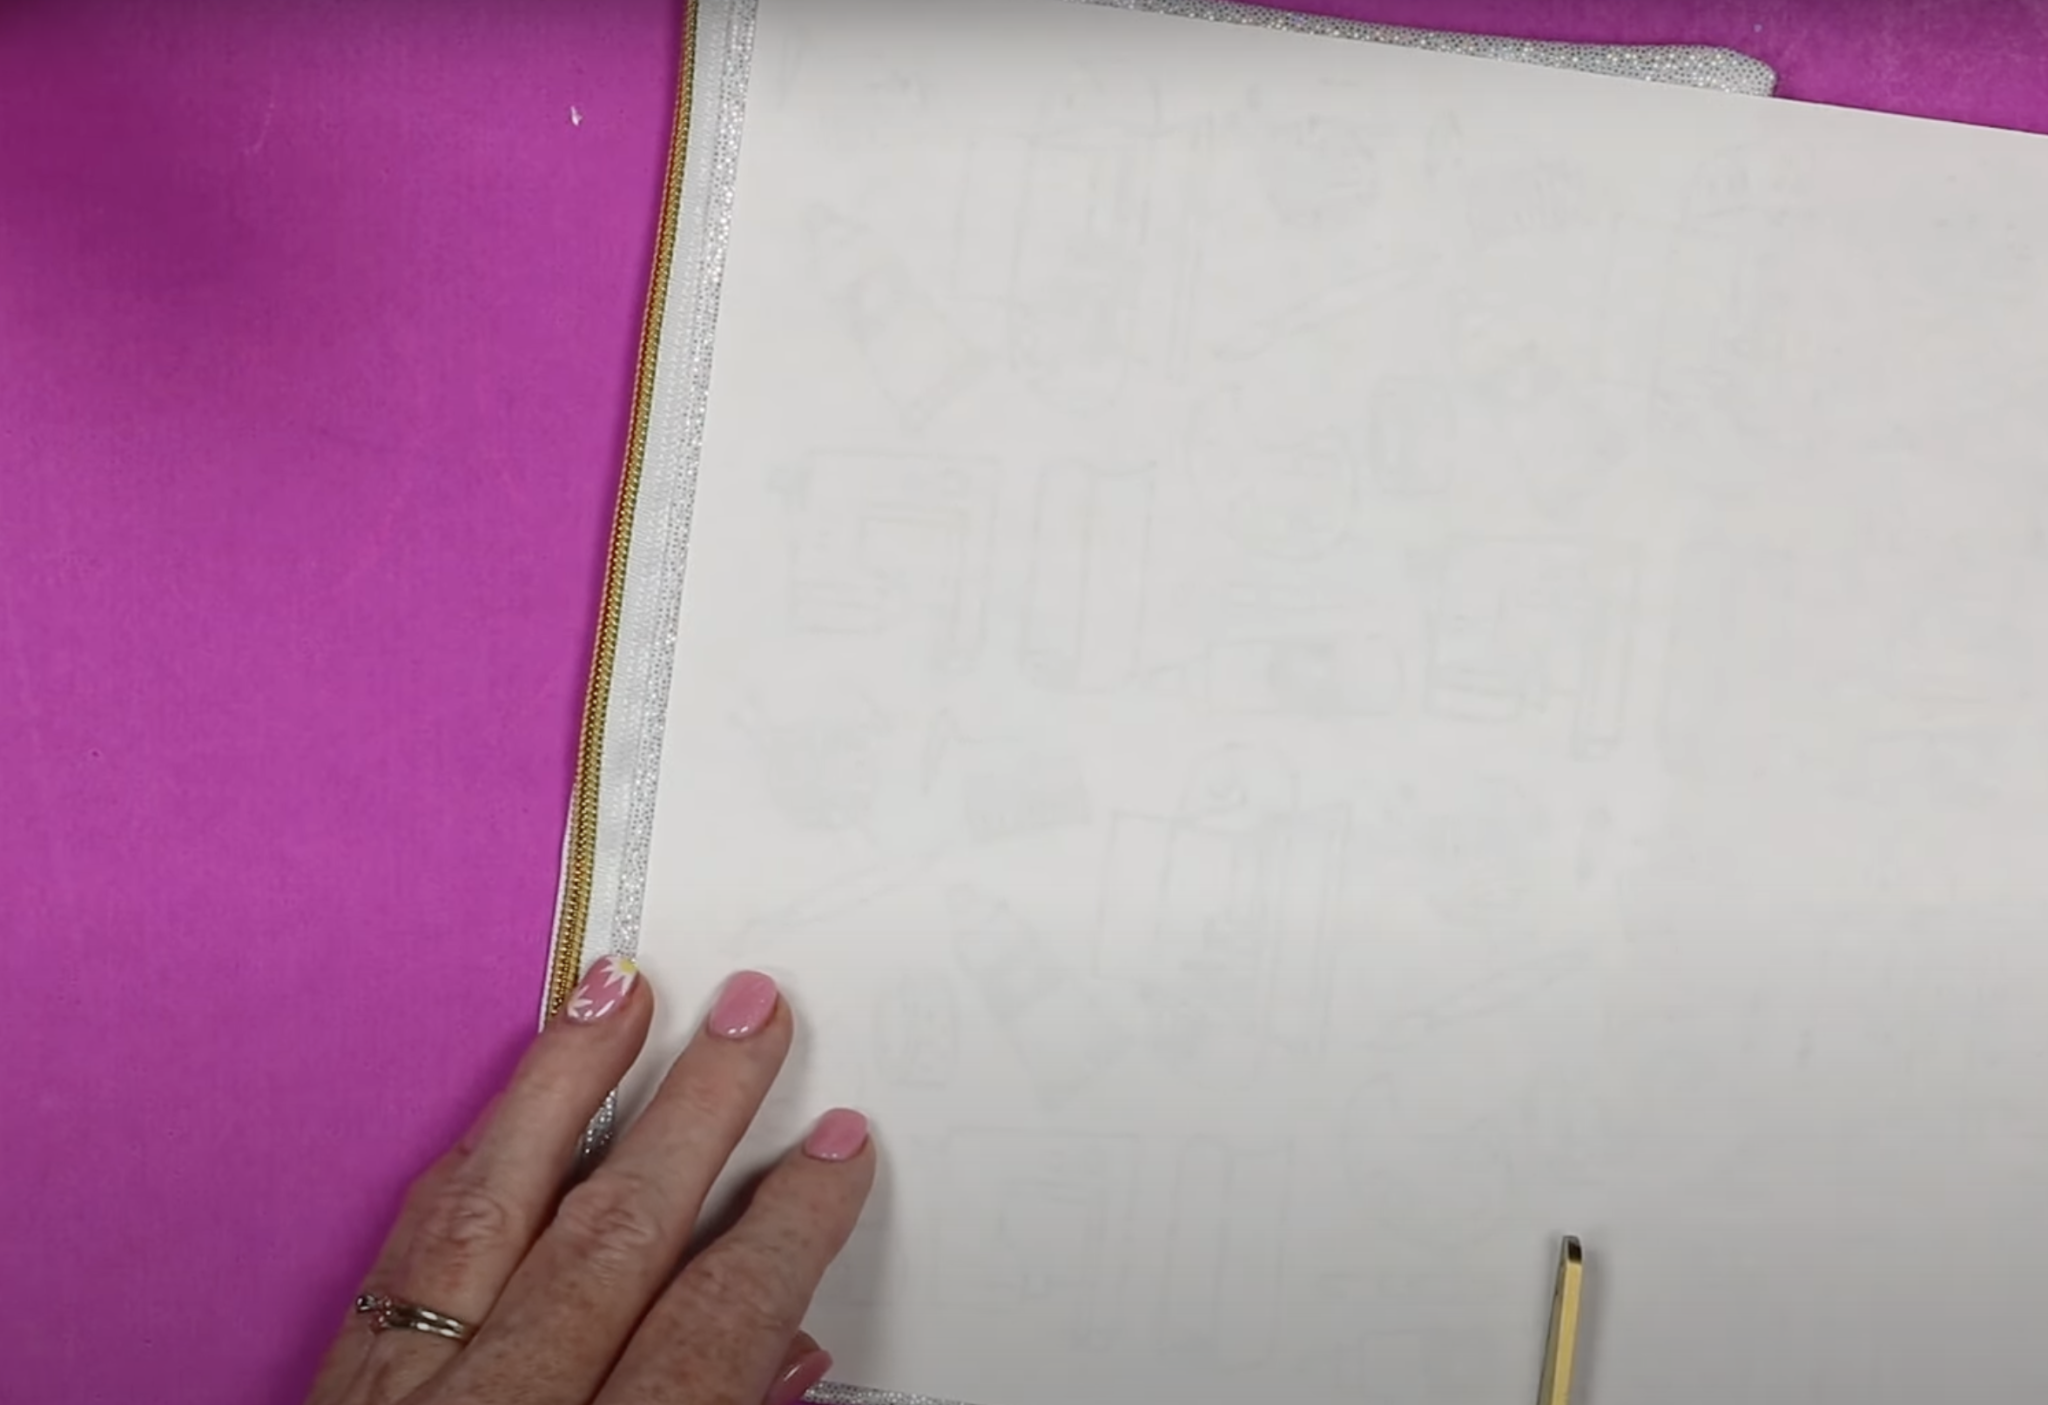
I didn’t want the designs to look like they end abruptly, so I trimmed it so it was close to the right size and then ripped the edges, so all the way around it looks intentional.
Step 2. Prepare the Sublimation Page
To color this sublimation page, I have a bowl of water and sublimation stamp ink refills from Artesprix.
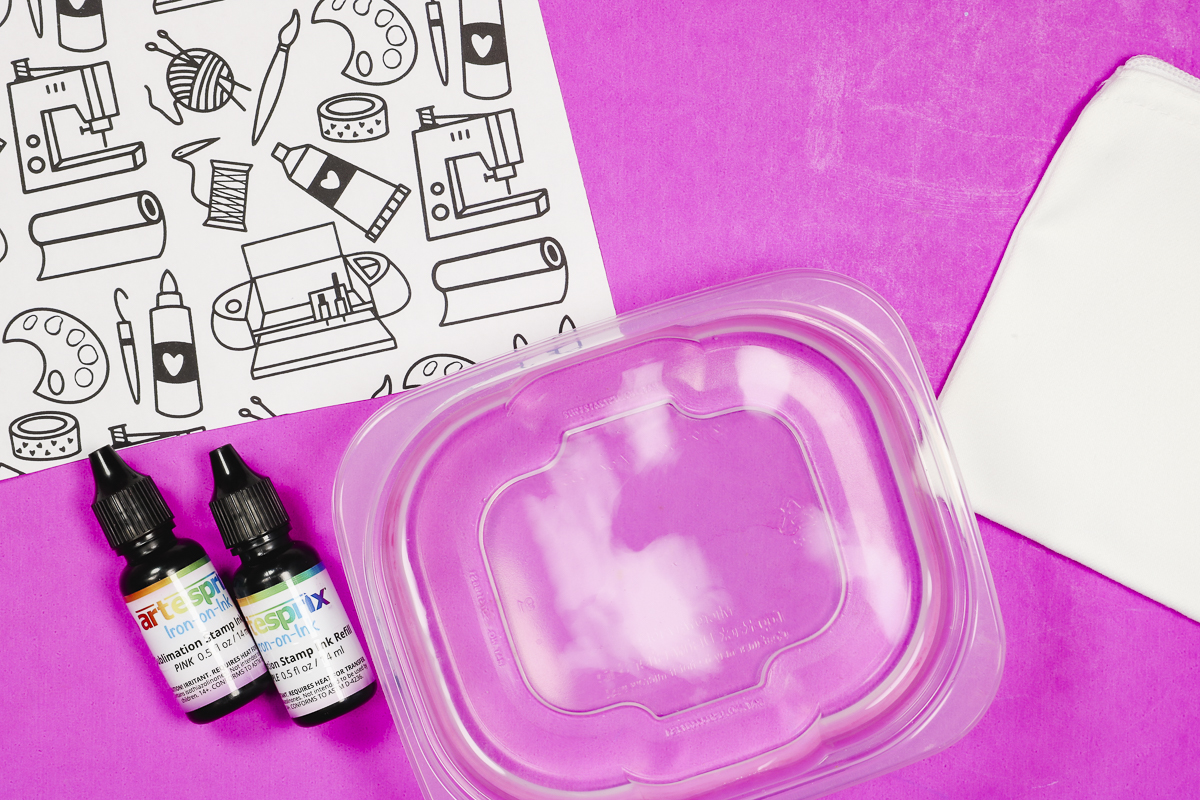
I am using pink and purple and I am simply adding a few drops of each color into the water.
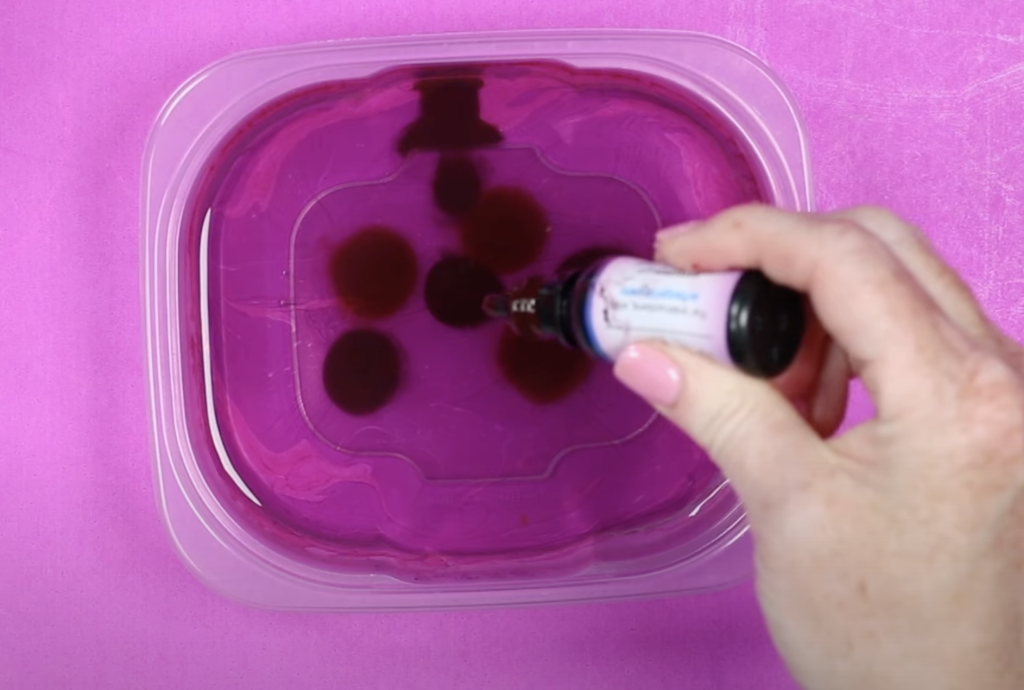
You can add as much ink as you want. You can use a popsicle stick to stir the ink around, and then we’ll dip the sublimation coloring page into the water.
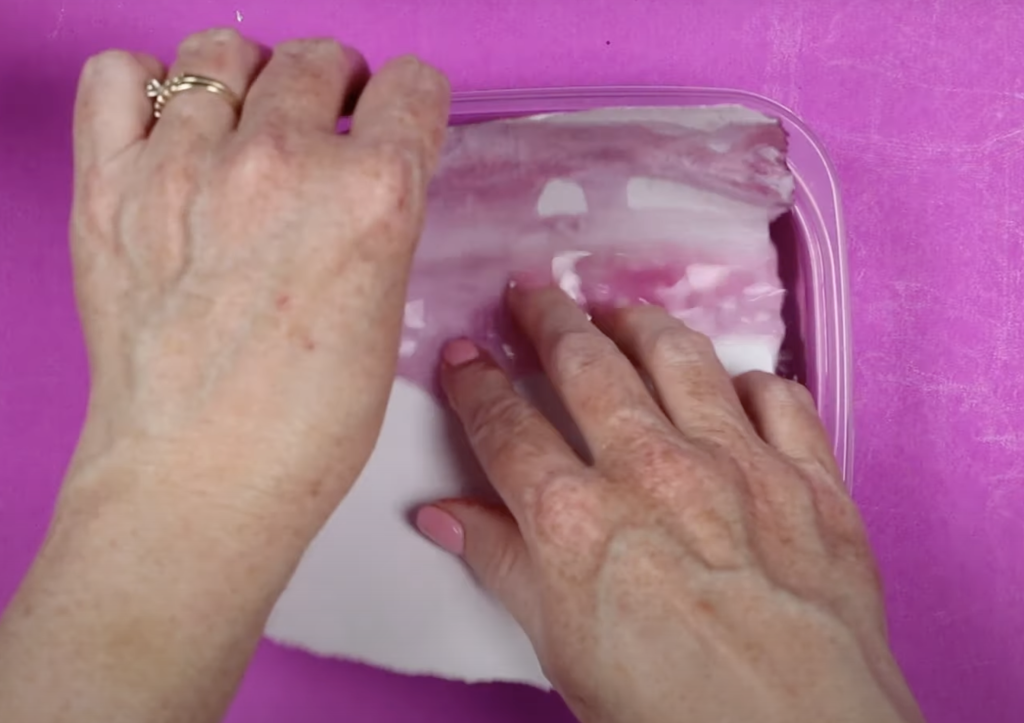
Make sure to submurge the entire paper into the water. If you want more ink in any section you can dip it into the water again.
This paper will be very wet, allow it to dry completely before pressing.
Step 3. Prep the Sublimation Zipper Pouch
The zipper pouch has a glitter finish, and it looks really cool on its own. Before adding the sublimation print, we need to pre-press to remove any moisture.
After pre-pressing, use a lint roller to clean the surface.
With a piece of protective paper inside the zipper pouch, place it on a heat-resistant mat. The protective paper will protect the mat and the back of the zipper pouch from any sublimation ink bleeding through.
Step 4. Locate Sublimation Print on Zipper Pouch
Locate the design where you want on the zipper pouch and secure it in place with heat-resistant tape.
Cover the entire surface with protective paper to protect the heat plate from sublimation ink bleeding through.
This ink is more likely to bleed through than a regular sublimation print. Don’t forget to use protective paper.
Step 5. Press Sublimation Page to Zipper Pouch
I am using my EasyPress for this project. I have the temperature set to 380 degrees and the time set for 60 seconds.
When pressing, make sure to keep the heat plate off the zipper so you get an even press.
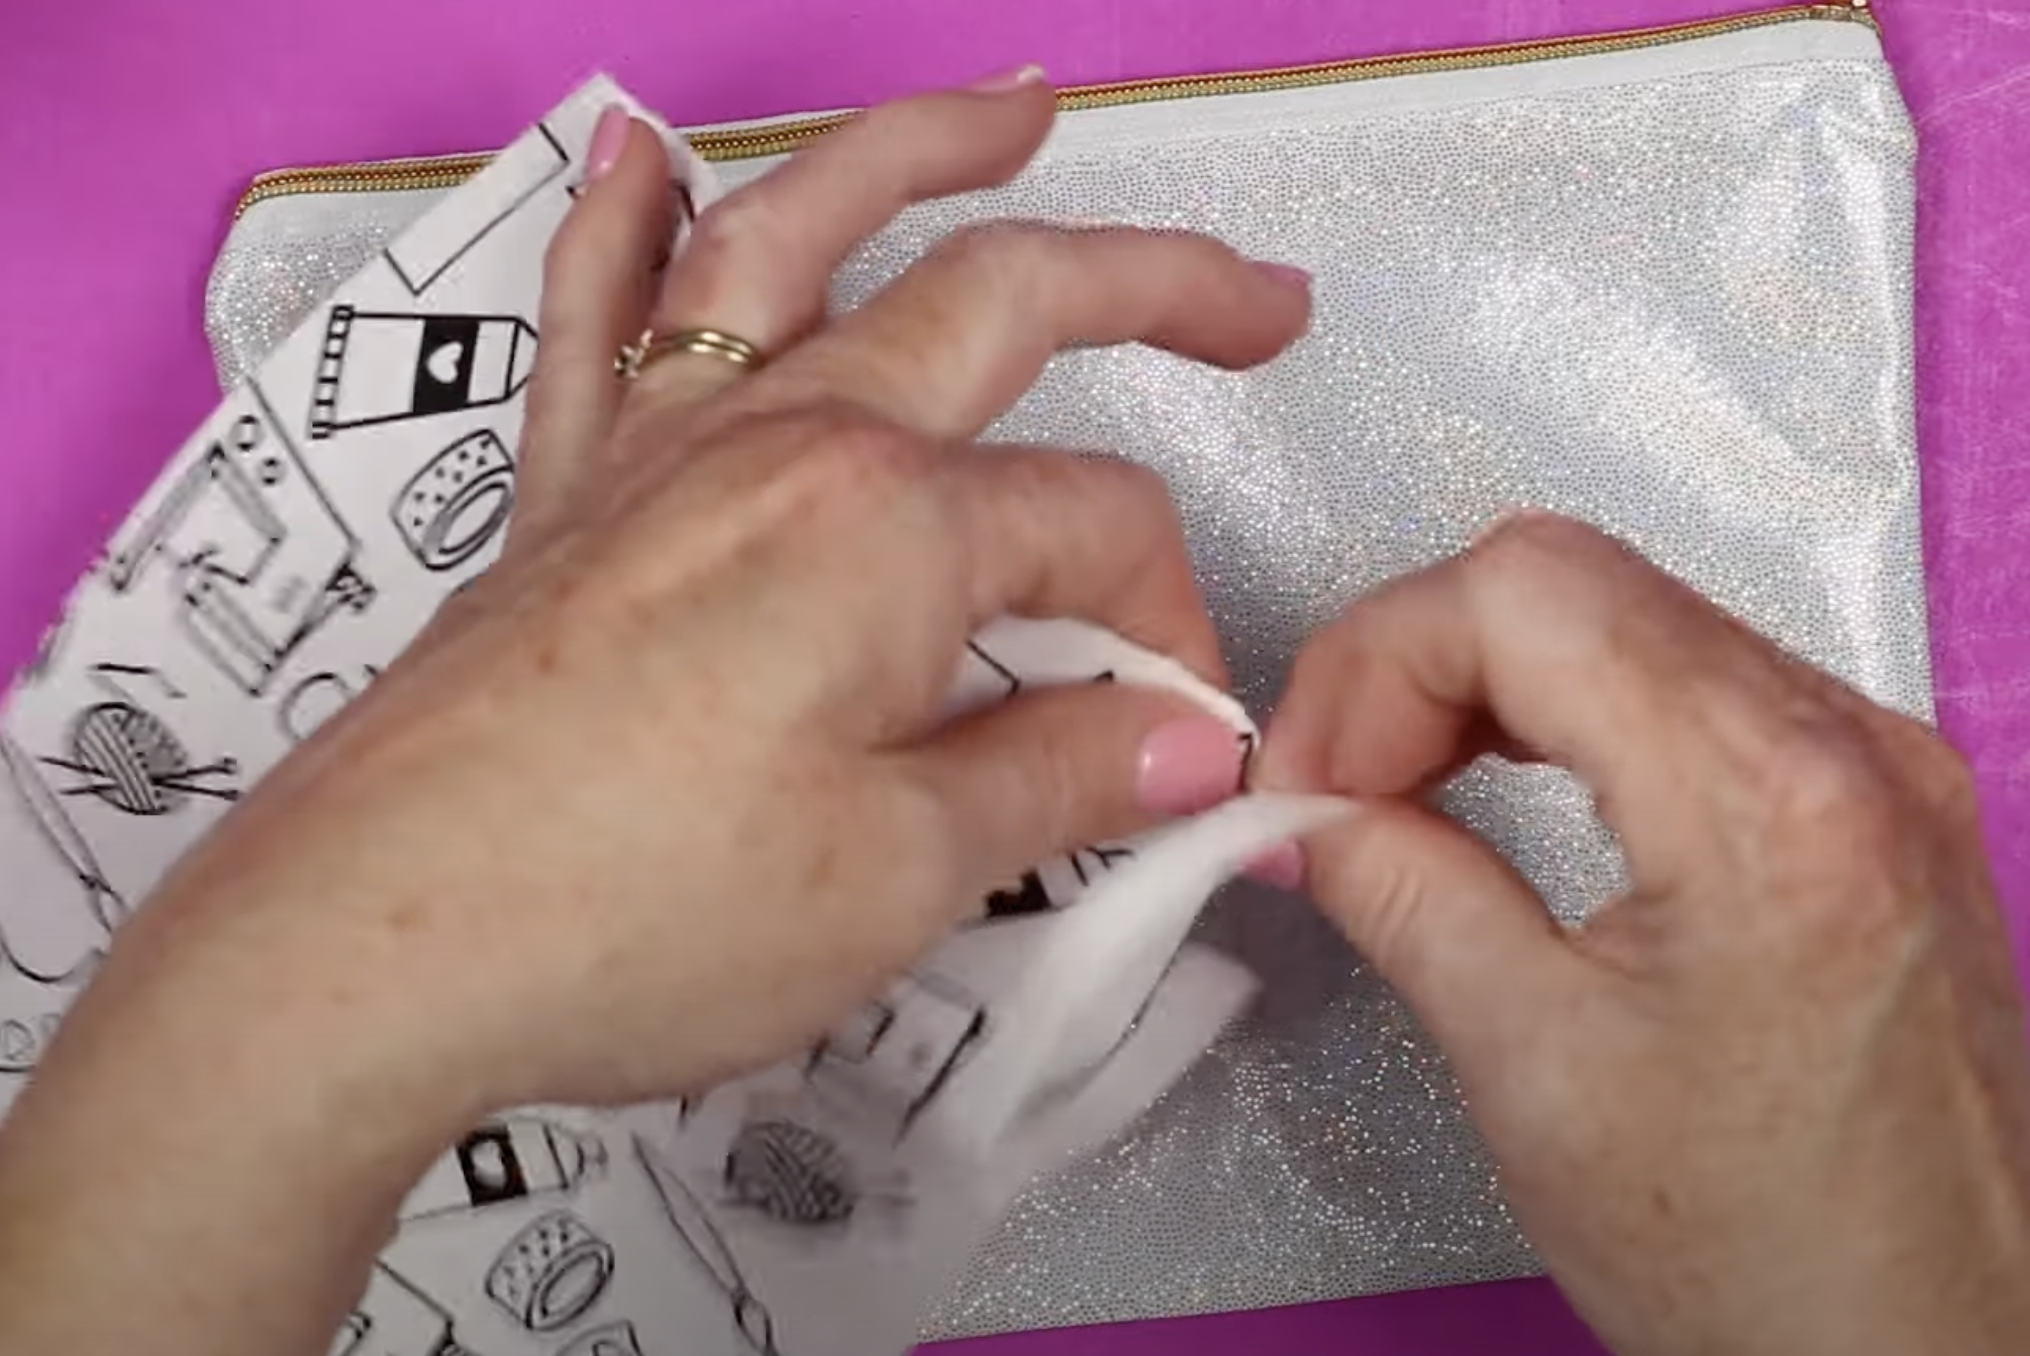
When the time is up, remove the EasyPress. Allow everything to cool for a few seconds and then remove the protective paper and sublimation print.
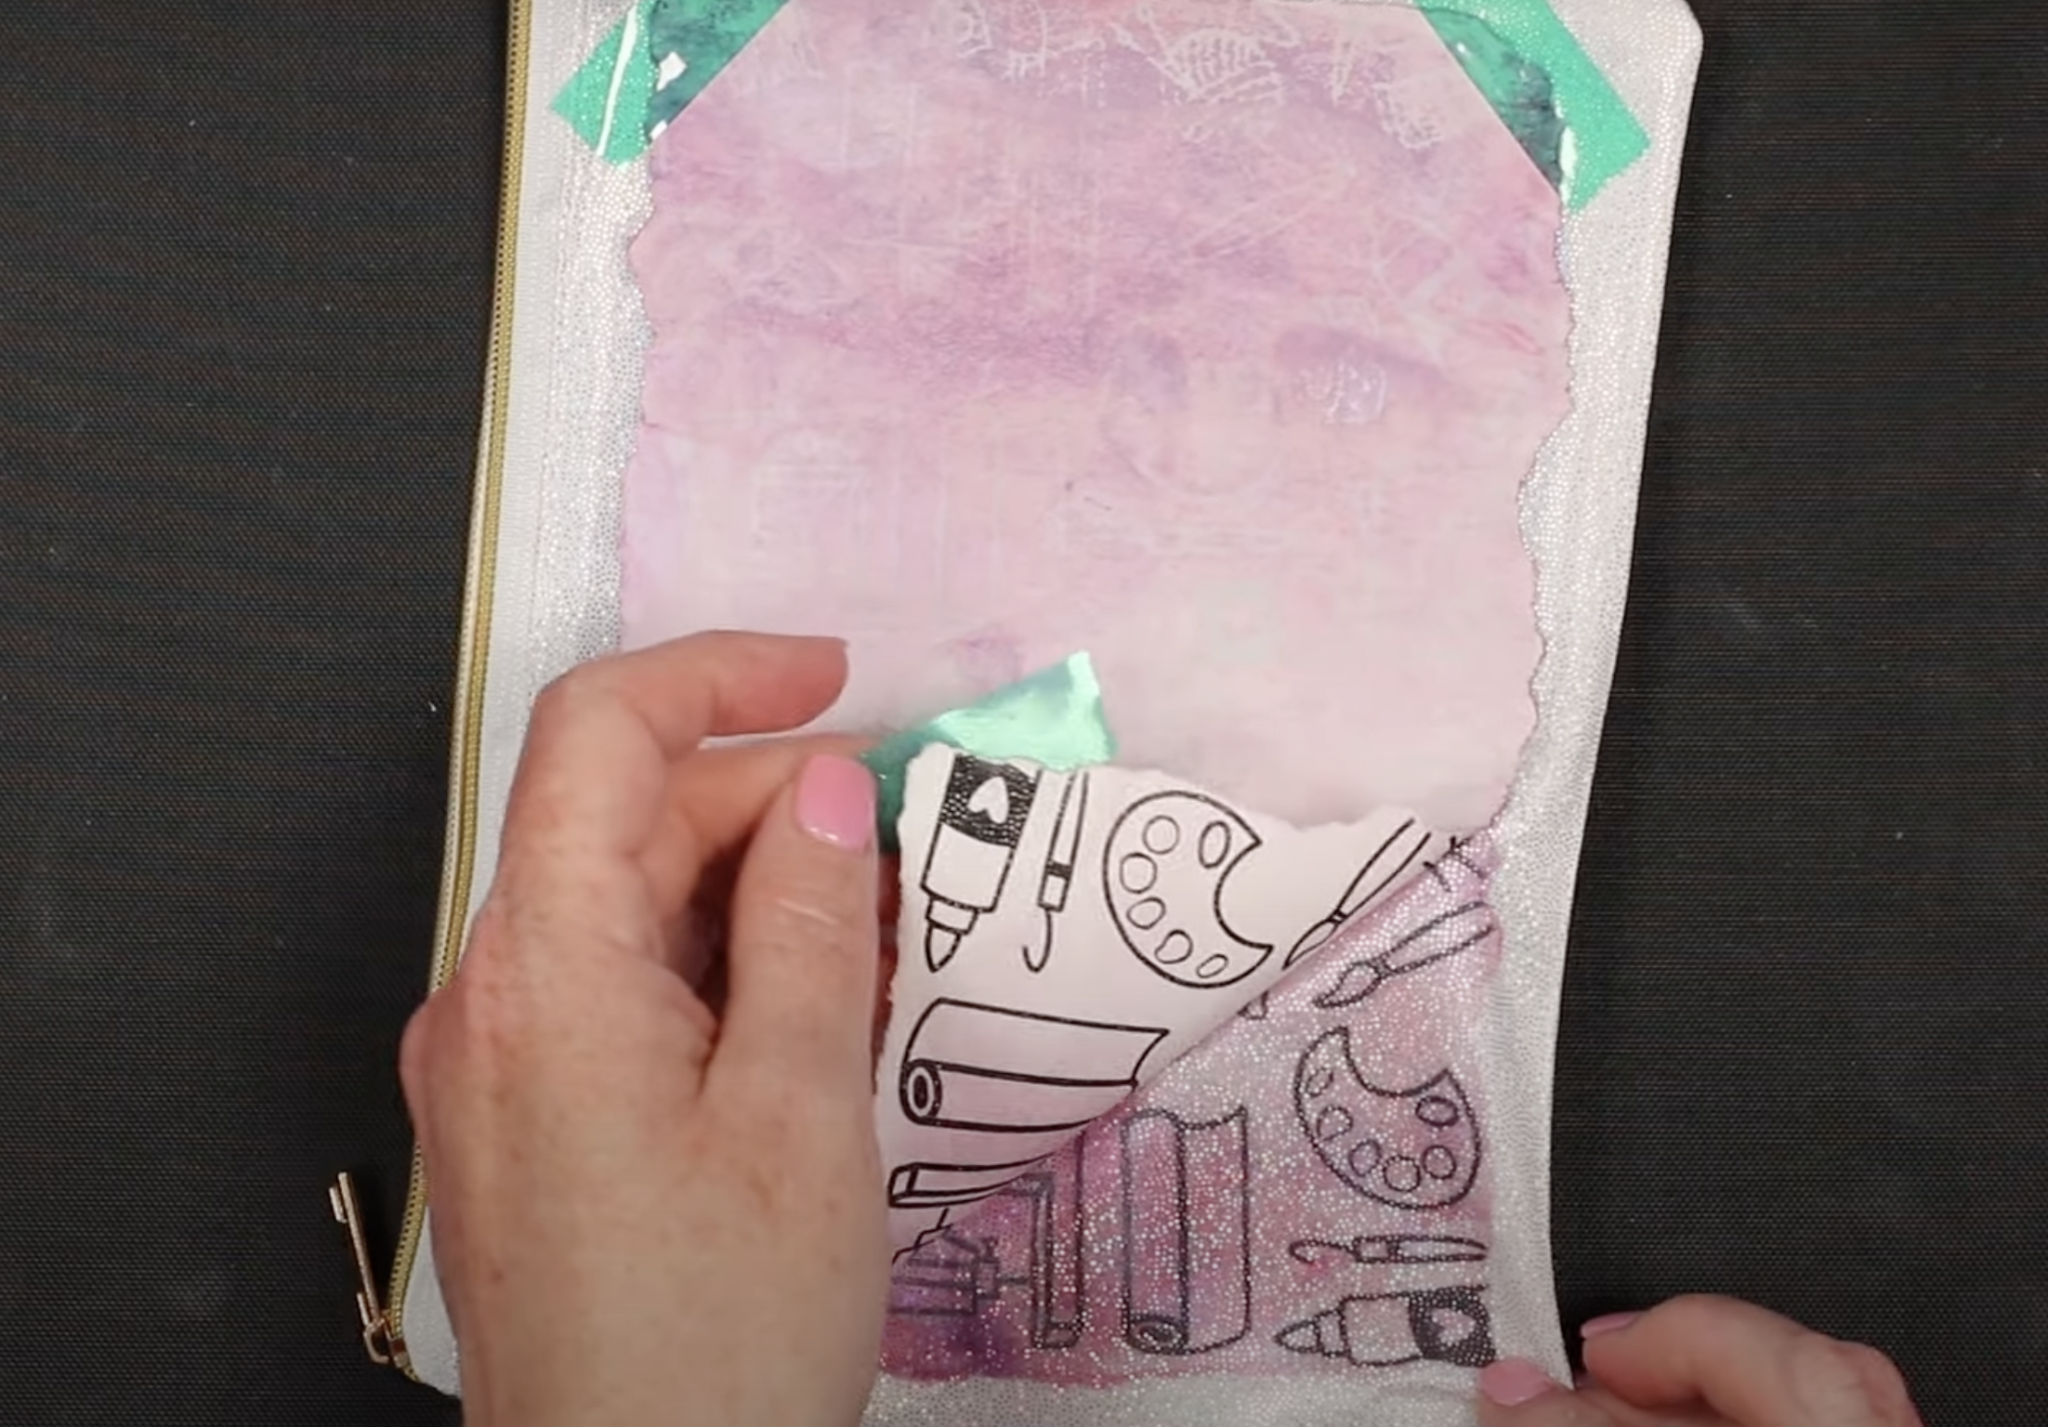
If the print sticks to the zipper pouch, it is because of the sublimation ink they use for the coloring page. You can just peel it away.
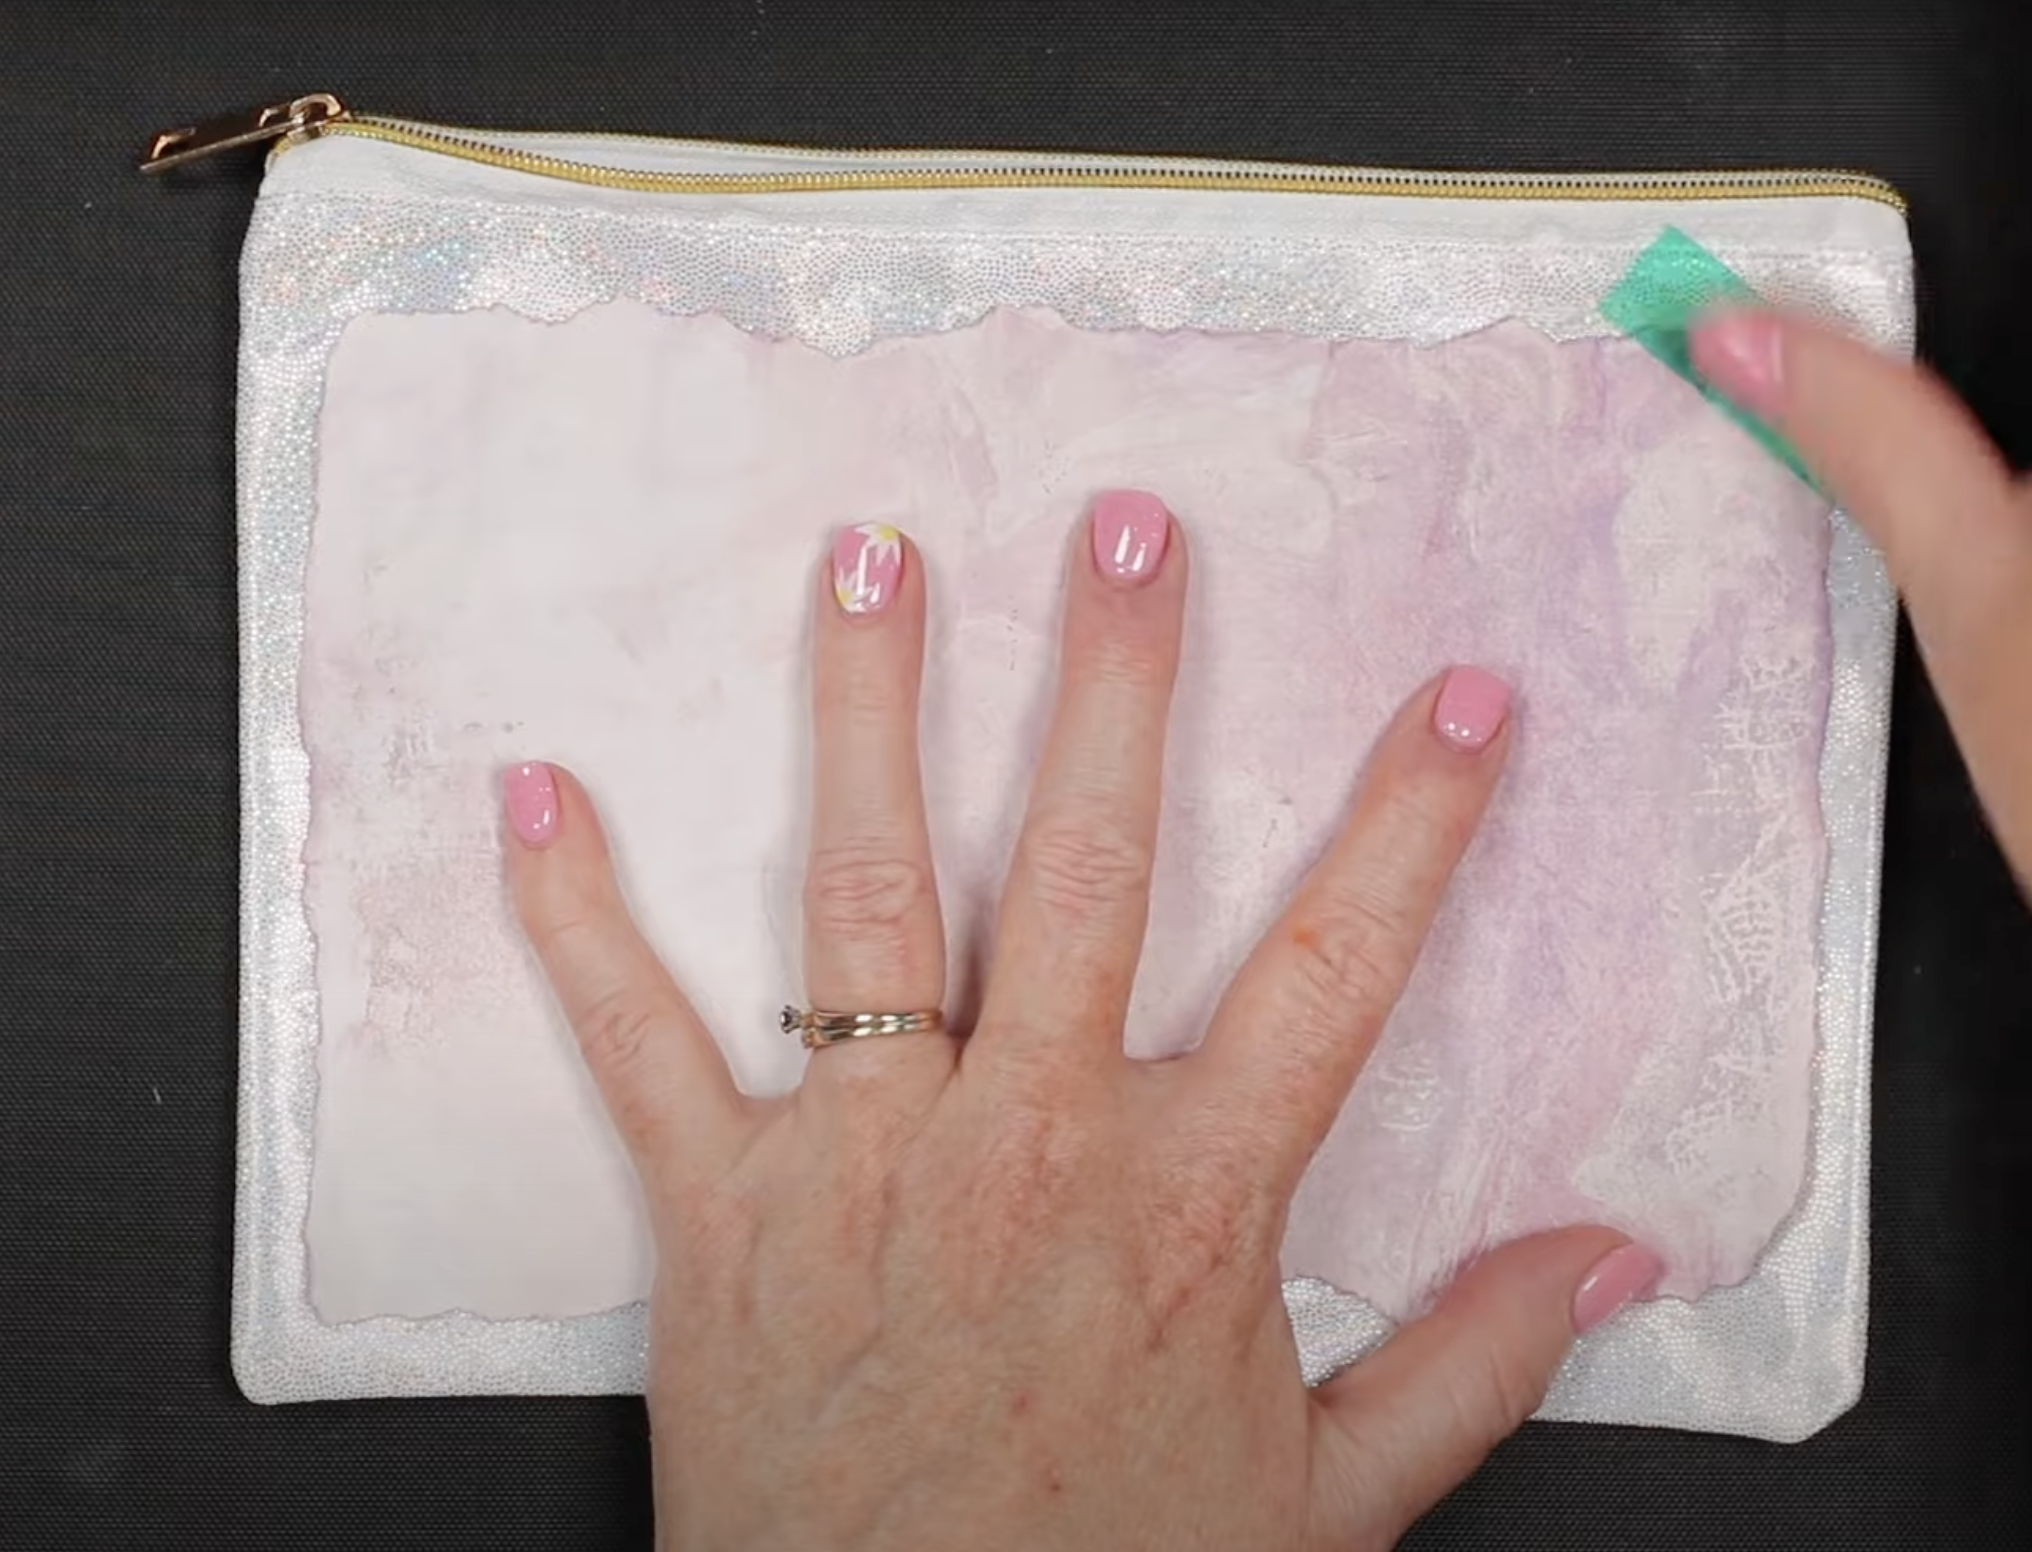
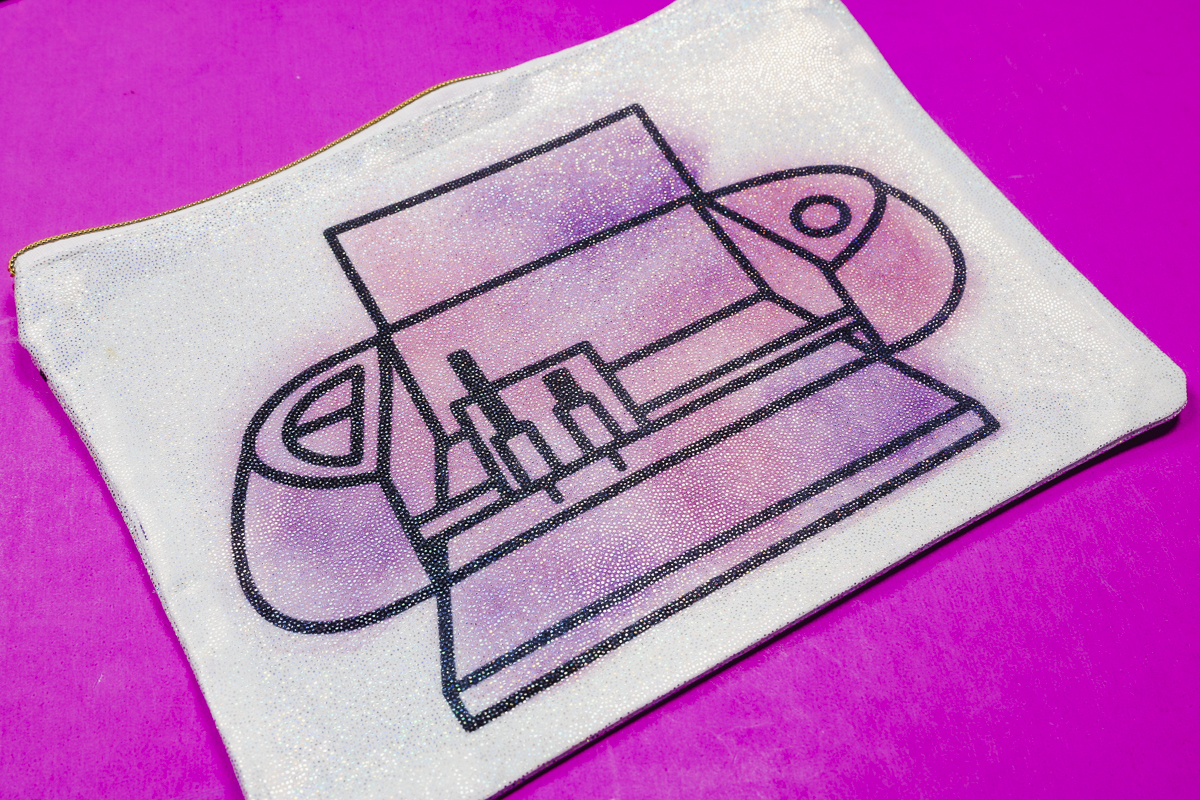
Step 6. Enjoy Your Finished Sublimation Zipper Pouch
I love how this project turned out. The combination of the glitter and the pink and purple gives it such a cool look.
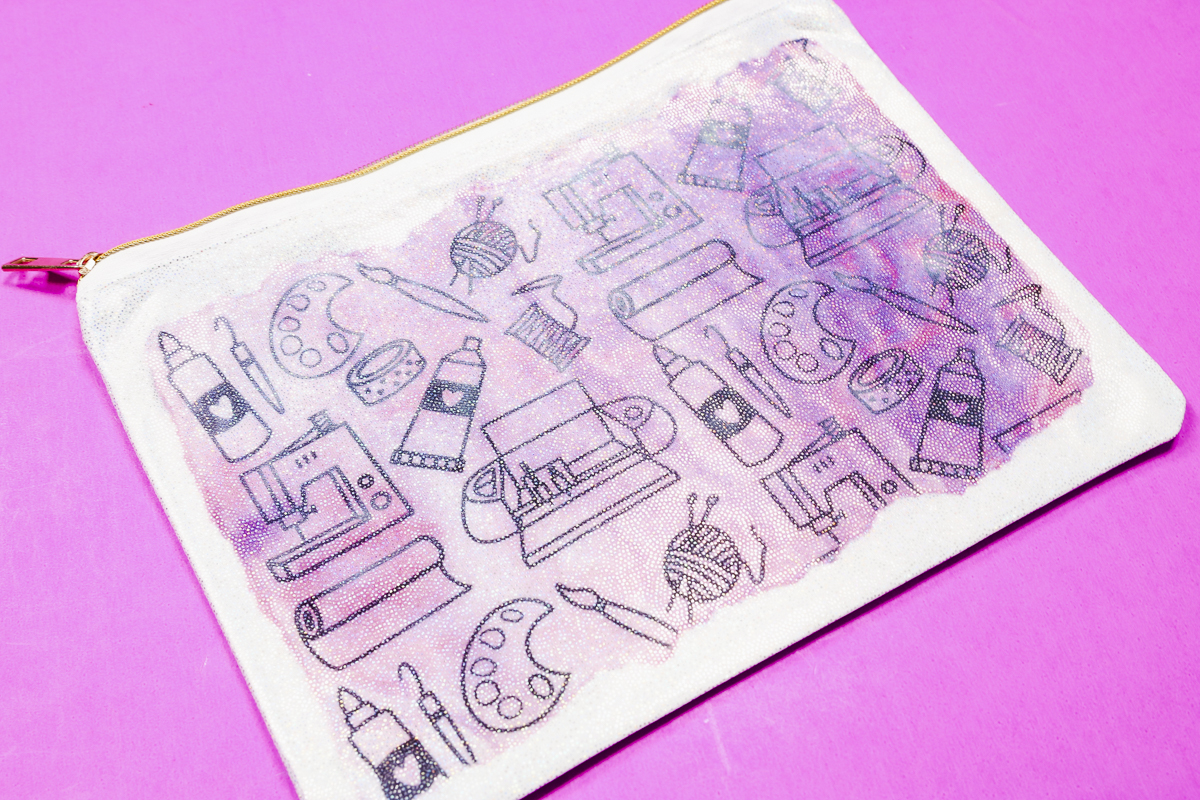
You could use sublimation markers or paints for this project as well, but I love how this looks with the sublimation stamp refill ink.
Make a Sublimation Luggage Tag
For my luggage tag, I am using sublimation paint and a sublimation luggage tag.
I’m using a small piece of the sublimation coloring book print that will fit on the luggage tag.
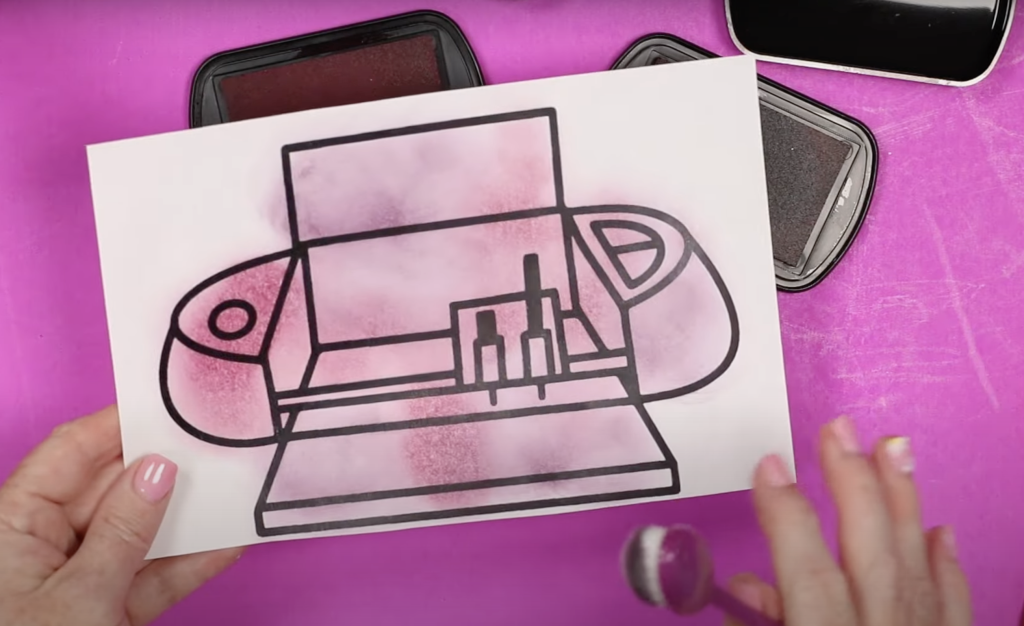
Step 1. Paint the Sublimation Coloring Page
Sublimation paint comes in a variety of colors. I am using pink, purple, and blue. I want more of a pastel blue, so I am using something called lightening medium.
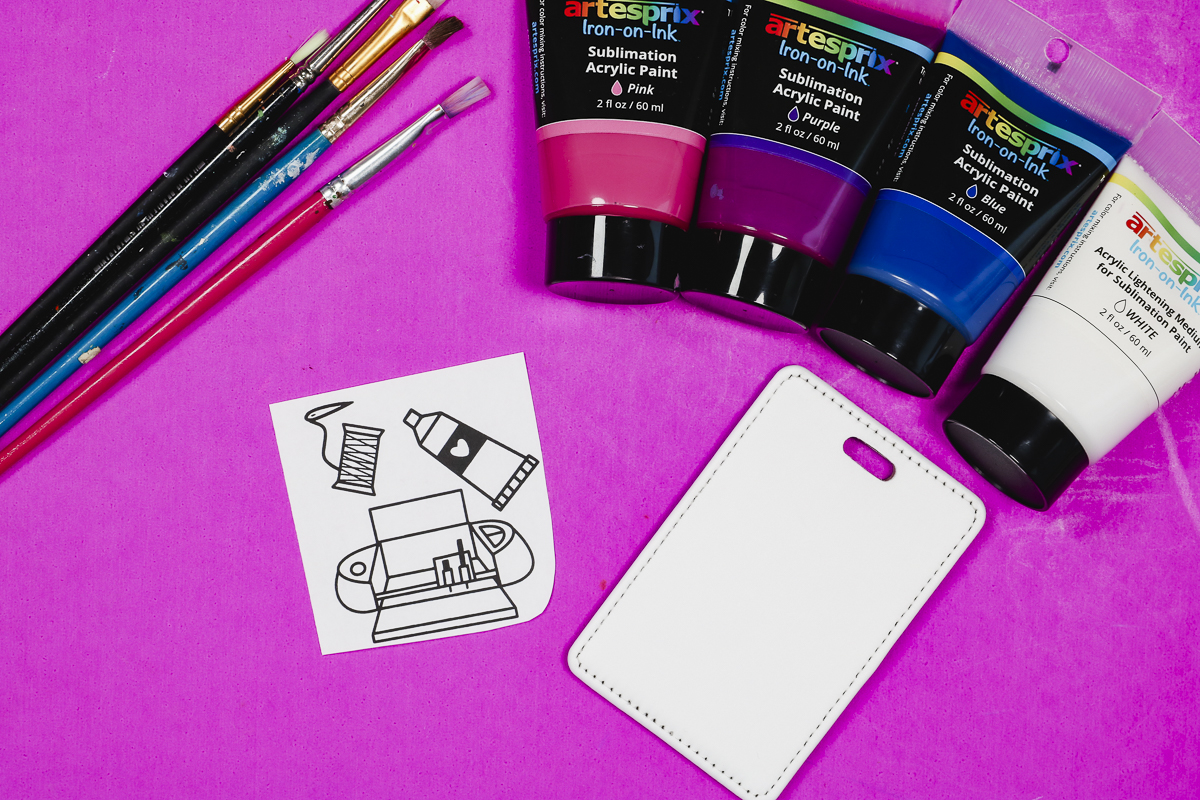
NOTE: The lightening medium will not sublimate and is not white sublimation paint. There is no such thing as white sublimation. The lightning medium will lighten other colors.
A little paint goes a long way. You only need a tiny bit.
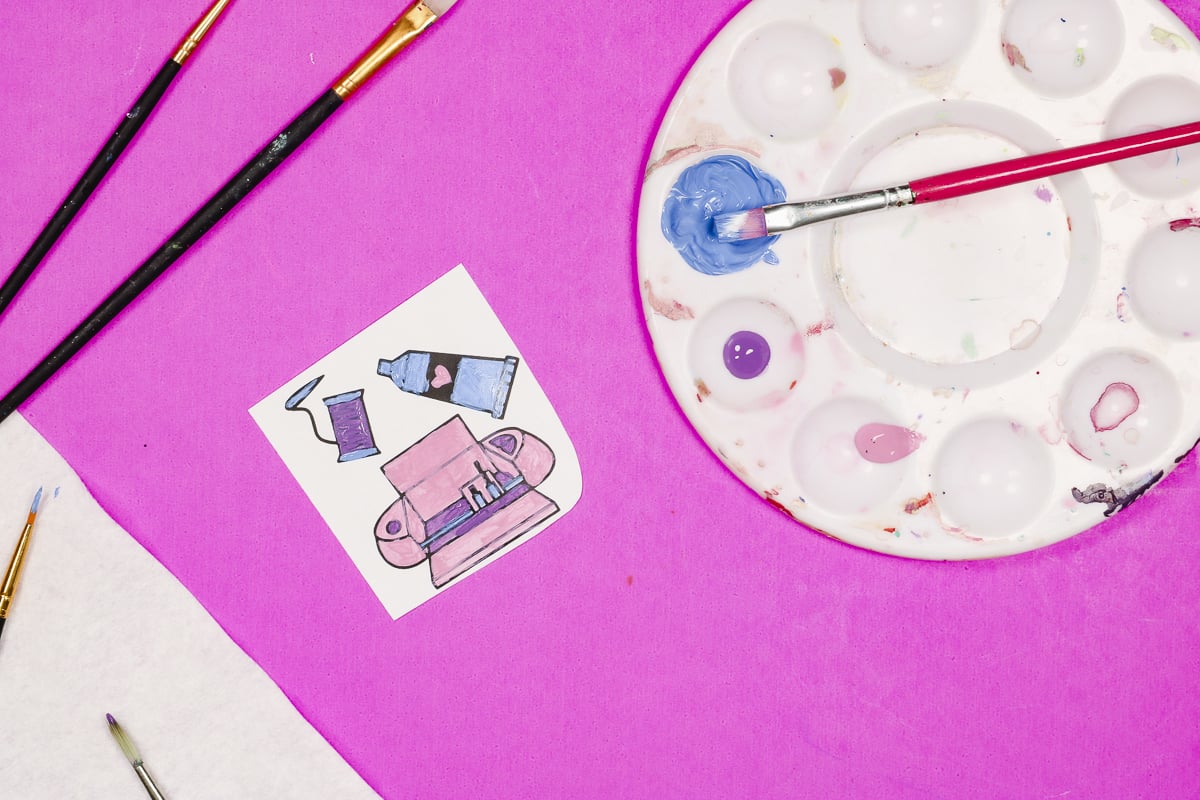
Paint the design however you want. Don’t worry if you paint over the black lines. Because the black will be on top when you press that will show.
This paint is pretty thick, so I do really light coats of paint. It also dries very quickly.
Allow the paint to dry completely before pressing.
Step 2. Locate the Sublimation Print
Use a lint roller to clean the surface of the luggage tag.
Locate the sublimation print where you want it on the luggage tag and secure it in place with heat-resistant tape.
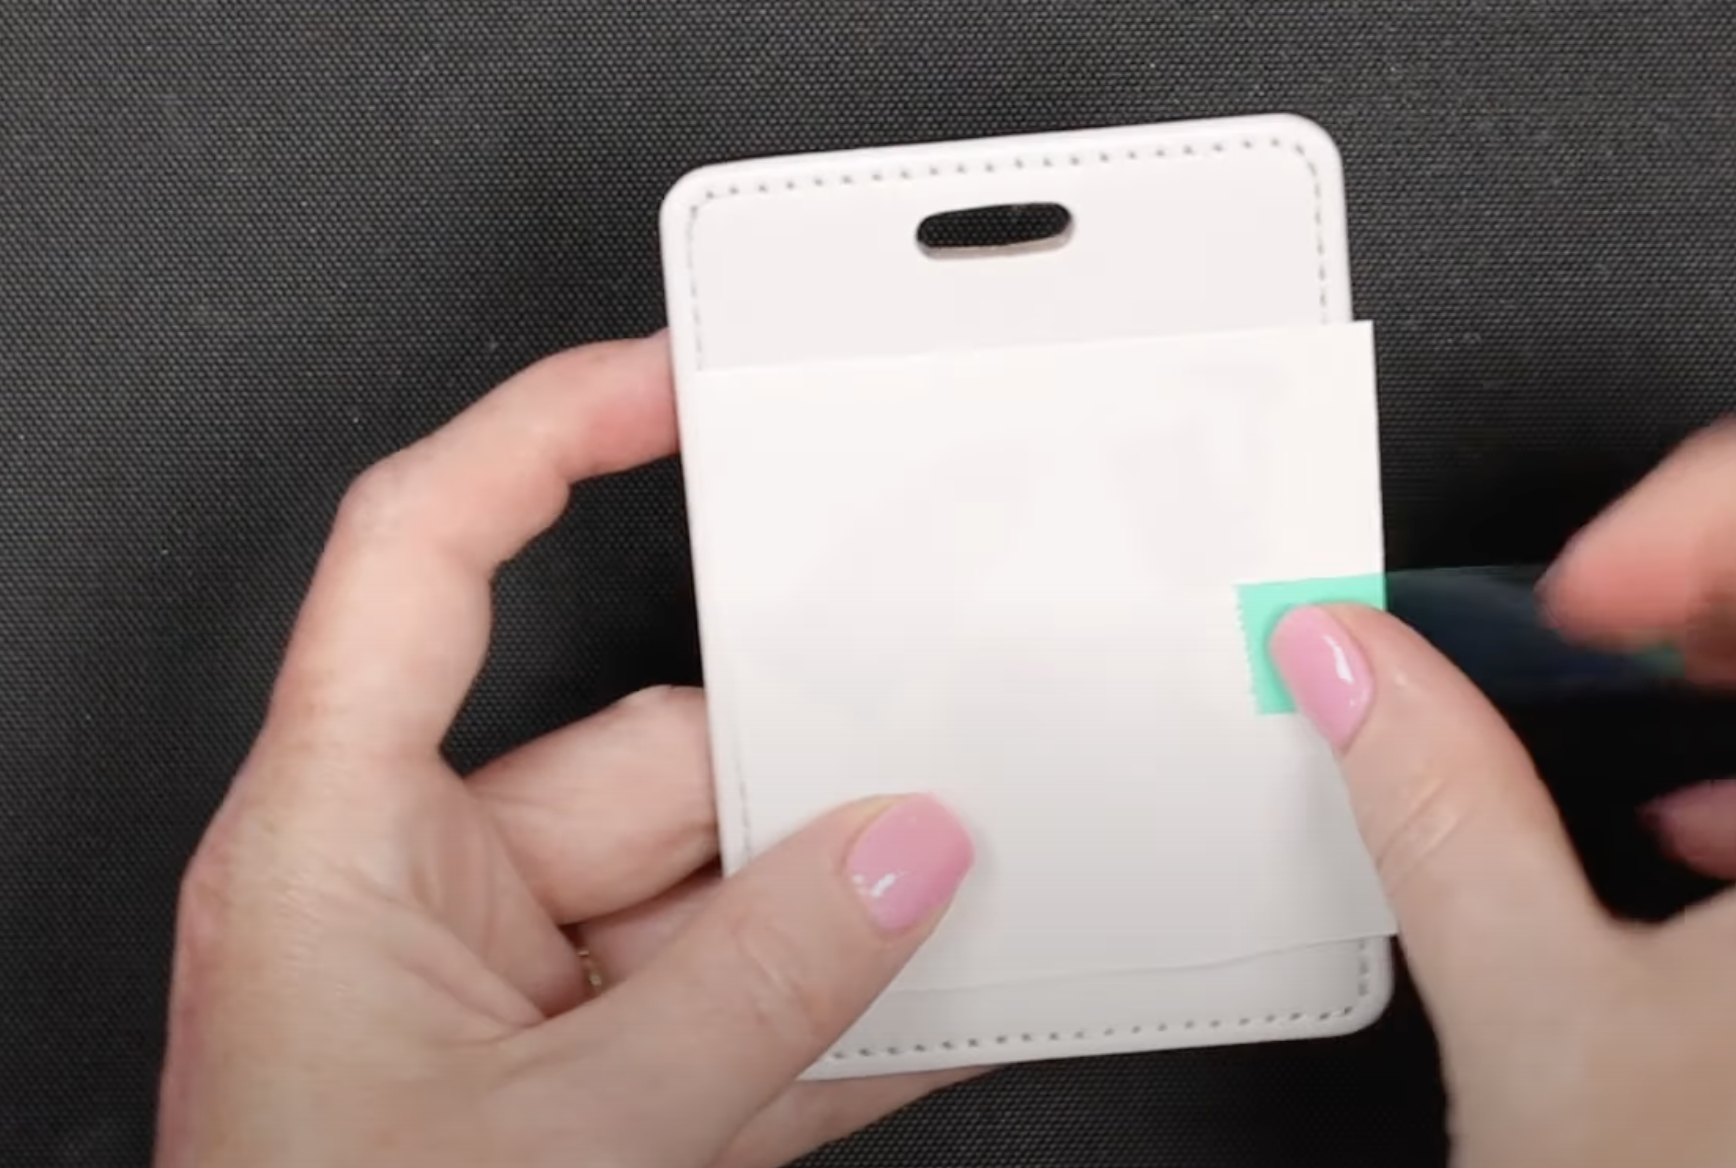
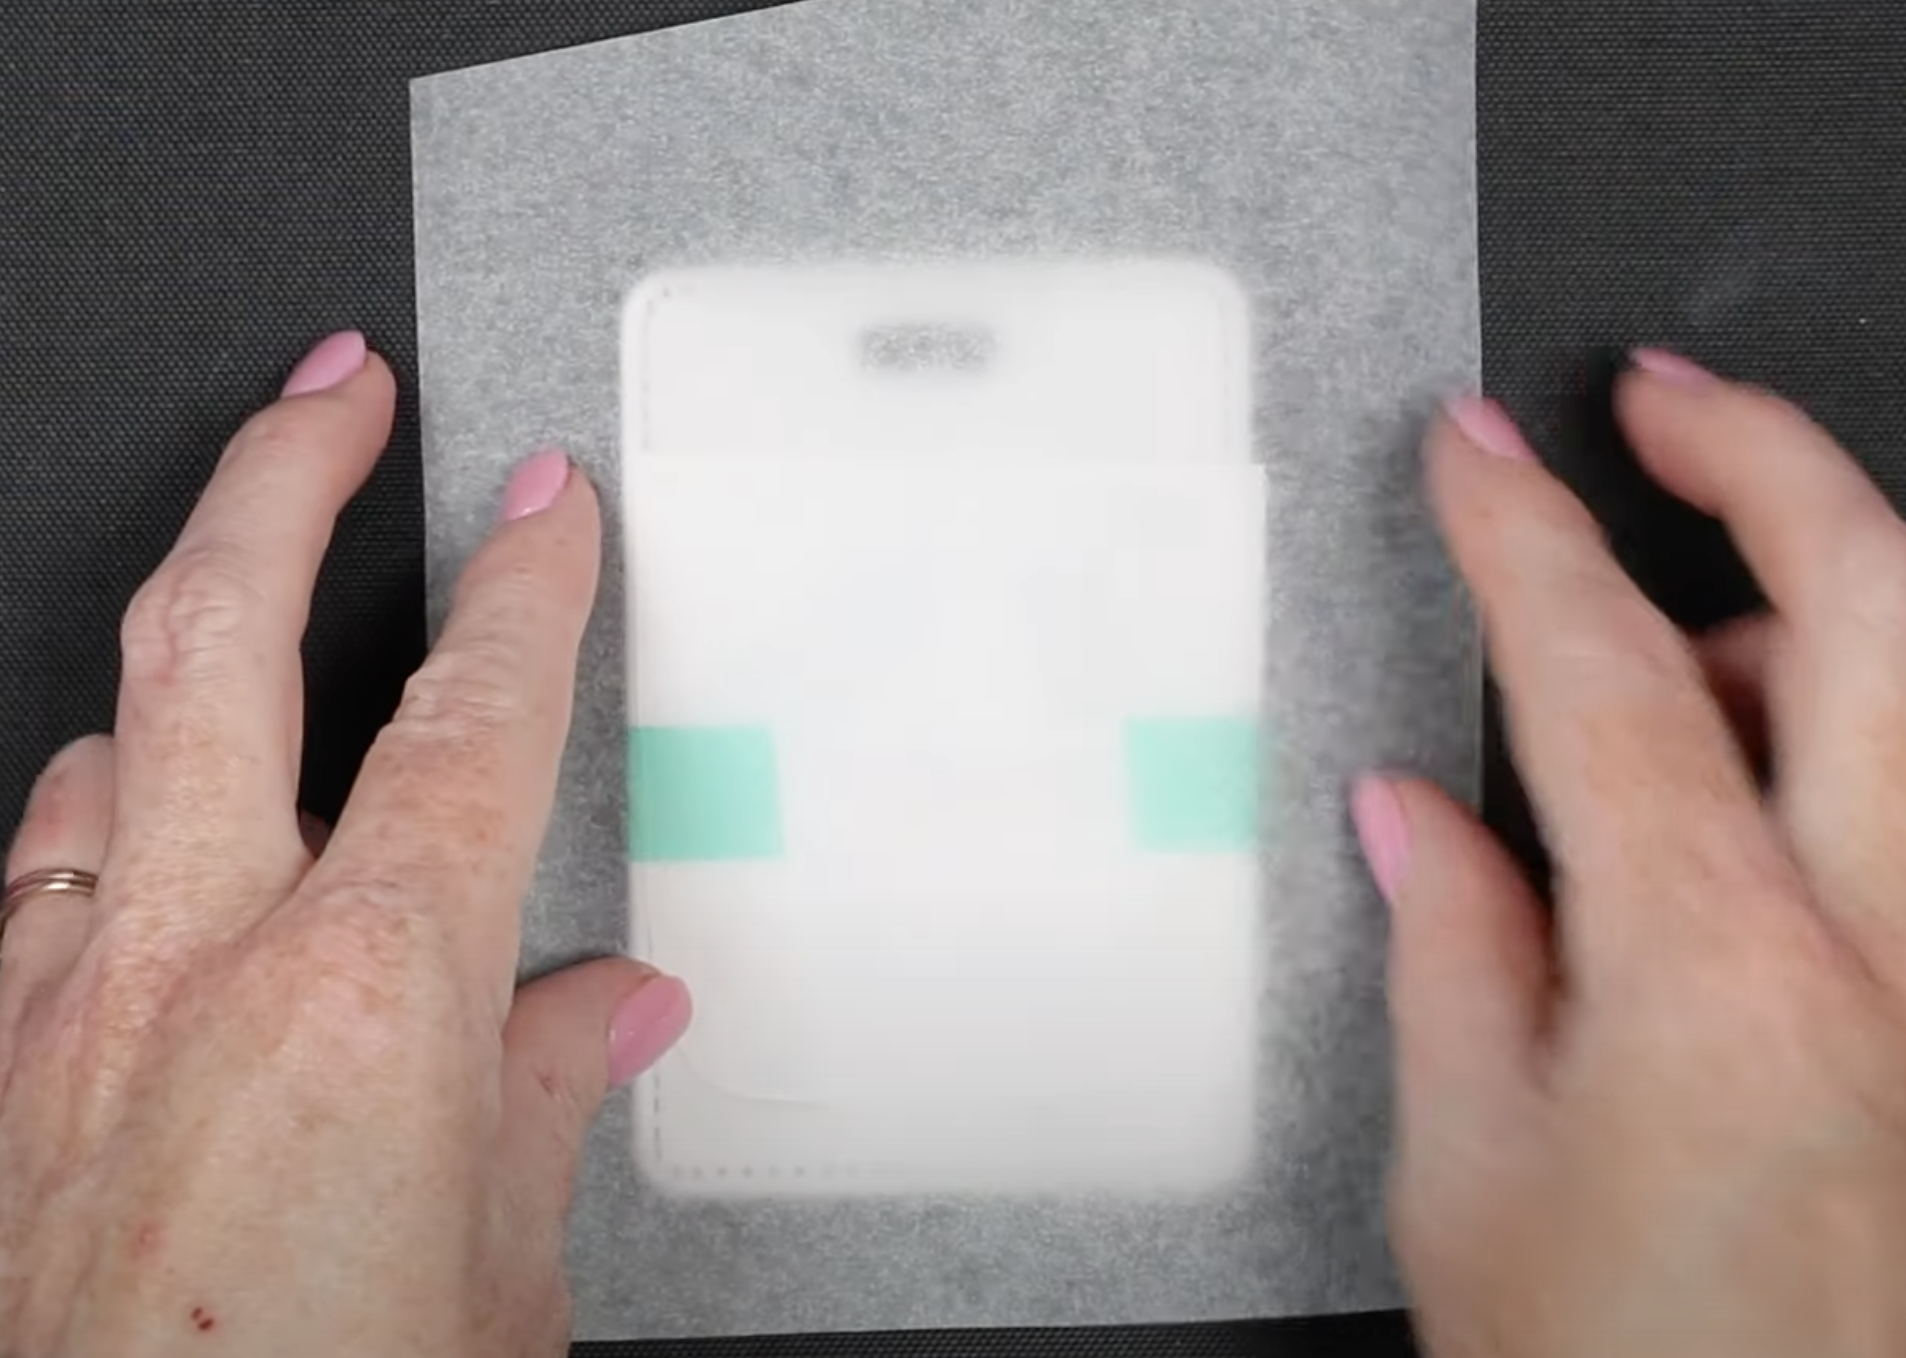
If any of the print hangs off the luggage tag, make sure you place a sheet of parchment paper under the tag before pressing. The sublimation paint will transfer to your heat-resistant mat if you don’t protect it.
Cover the print with protective paper, and we’re ready to press.
Step 3. Press the Luggage Tag
For this project, I have the temperature of my EasyPress set to 380 degrees and a time of 60 seconds.
Use even consistent pressure for the full time, and when the time is up, remove the EasyPress and allow to cool for a few seconds.
Step 4. Enjoy Your Finished Luggage Tag
My luggage tag turned out really cute. As you can see, the black shows through the sublimation paint really well.
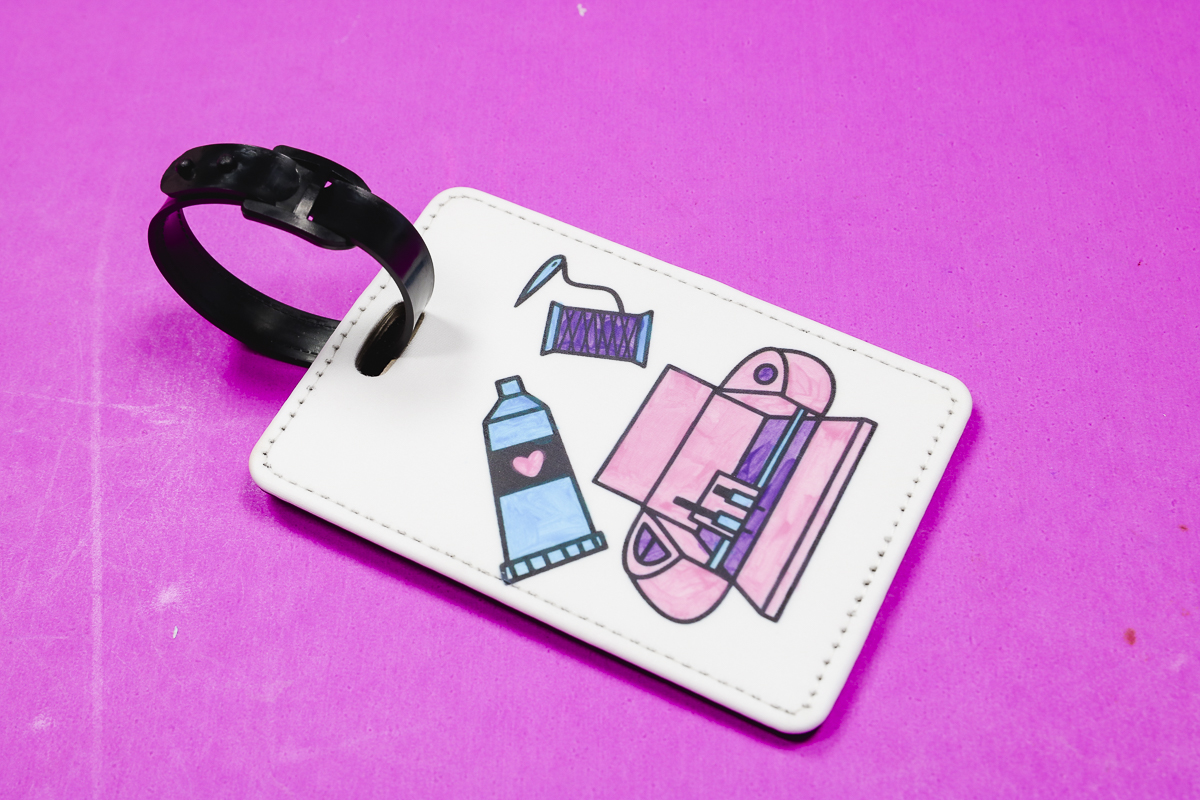
The sublimation paint looks really good, and I love these colors. If you don’t have a sublimation printer, sublimation paint is a great option for these projects.
Make a Sublimation Zipper Pouch with Stamp Pads
This next project is another sublimation glitter pouch, and this time, I’m going to color the coloring book page with ink from a stamp pad.
Step 1. Color the Sublimation Coloring Page
To color the coloring page, I am using a sponge-like brush to transfer the ink from the stamp pads to the coloring page.
To do this, dab the brush onto the stamp pad to absorb some ink and then rub it on the coloring page.
This process won’t be perfect. We’ll end up with more of a watercolor-type finished look.
I used pink and purple sublimation stamp pads and colored over the whole design.
This ink dries quickly, but make sure it’s completely dry before placing it on the zipper bag.
Step 2. Prep the Zipper Bag
This process is the same as the previous zipper pouch. Preheat for a few seconds and use a lint roller to make sure there is no dust or other debris on the bag.
Add protective paper to the inside of the bag to protect the back and the mat from any ink that may bleed through.
Step 3. Press the Sublimation Print
Locate the design on the zipper pouch and hold it in place with heat-resistant tape.
Cover the sublimation page with protective paper and press for 60 seconds at 380 degrees.
When the time is up, remove the EasyPress, protective paper, and sublimation print.
Step 4. Enjoy Your Finished Zipper Pouch
Isn’t this such a fun design? I love the look you get using the stamp pads and the sponge paint brushes.
This design is perfect for a zipper pouch to store your Cricut supplies in.
Remember, you can’t just use any stamp pad. It needs to be a sublimation stamp pad.
Make a Sublimation Hardboard Key Ring
For my last project, I wanted to test the sublimation coloring book designs on a hardboard blank. I am using a small keychain.
Step 1. Prep the Keychain Blank
If your keychain has a protective film on either side, remove it before you begin.
If there isn’t a protective film, clean the surface with a lint roller. I am going to add sublimation prints to both sides of this keychain, so I need to make sure both sides are clean.
Step 2. Color Your Design
Color the designs with whatever sublimation ink type you want. I am using sublimation markers.
Step 3. Press the Keychain
Trim the designs and locate them on both sides of the keychain. Secure them in place with heat-resistant tape.
Add protective paper to both the front and back and press at 380 degrees for 90 seconds.
Flip the keychain over and press again for 90 seconds.
When the time is up, remove the EasyPress and peel back the protective paper and sublimation print.
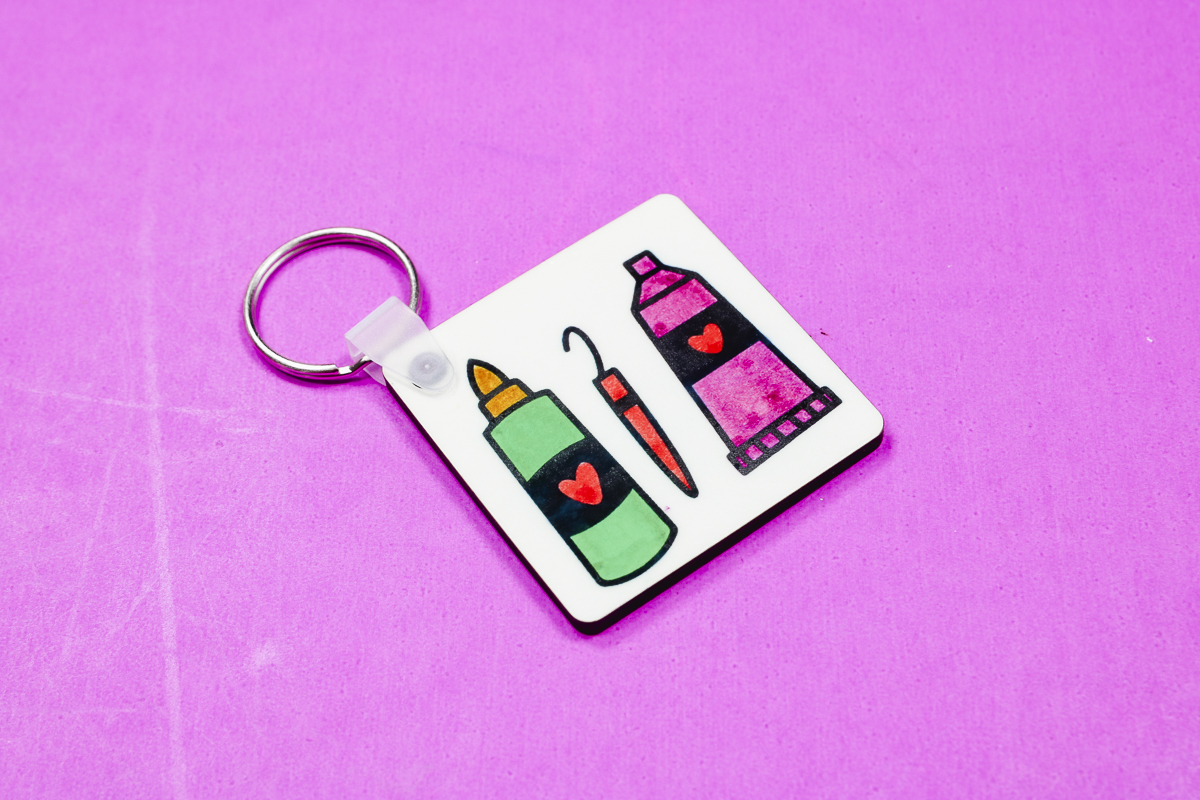
Step 4. Enjoy Your Sublimation Keychain
The sublimation coloring book design transferred to the hardboard perfectly. I love this little keychain.
Should You Try Sublimation Coloring Books?
These coloring books are so fun. There are many different ways you can use them, and I wanted to really test as many ways as I could for you.
You’ve seen a lot that Artesprix has to offer in this tutorial. I tested their markers, paints, stamps, and stamp refills.
All of these ink types can be used with any of the sublimation blanks I showed you today.
Even with all the projects I made today, I only used a few of the pages from the coloring book. I can still make a lot more projects with these fun, crafty designs.
How many projects you can make with one coloring book will depend on the size of the projects you make.
Whether you’re an experienced sublimation crafter or you’re brand new, you’re sure to have fun with these coloring books.
I hope I’ve answered any questions you have about sublimation coloring books. If you have any additional questions, leave them in the comments, and I’ll be happy to answer them for you.