This post and photos may contain Amazon or other affiliate links. If you purchase something through any link, I may receive a small commission at no extra charge to you. Any supplies used may be given to me free of charge, however, all projects and opinions are my own.
I have a really cool technique for you today! Learn all about layering holographic HTV for a unique effect on your next project.
This technique uses holographic pearl HTV from Siser, you want to make sure you’re using this specific HTV. I’m going to show you a variety of color combinations so you can choose which one is best for you.
Are you trying to figure out if you need a heat press or an EasyPress? I’ve tested both to help you decide which one is best for your craft room.
For this project, I’m layering the holographic HTV on top of half a regular HTV design.
You can watch me make this project and get all my tips and tricks by pressing play on the video below.
How to Layer Holographic HTV
To get the look I’m going to show you today, you need to use the Holographic Pearl HTV by Siser.
You can see through the material, and it will change the base material color. As it moves, the color changes and looks really cool.
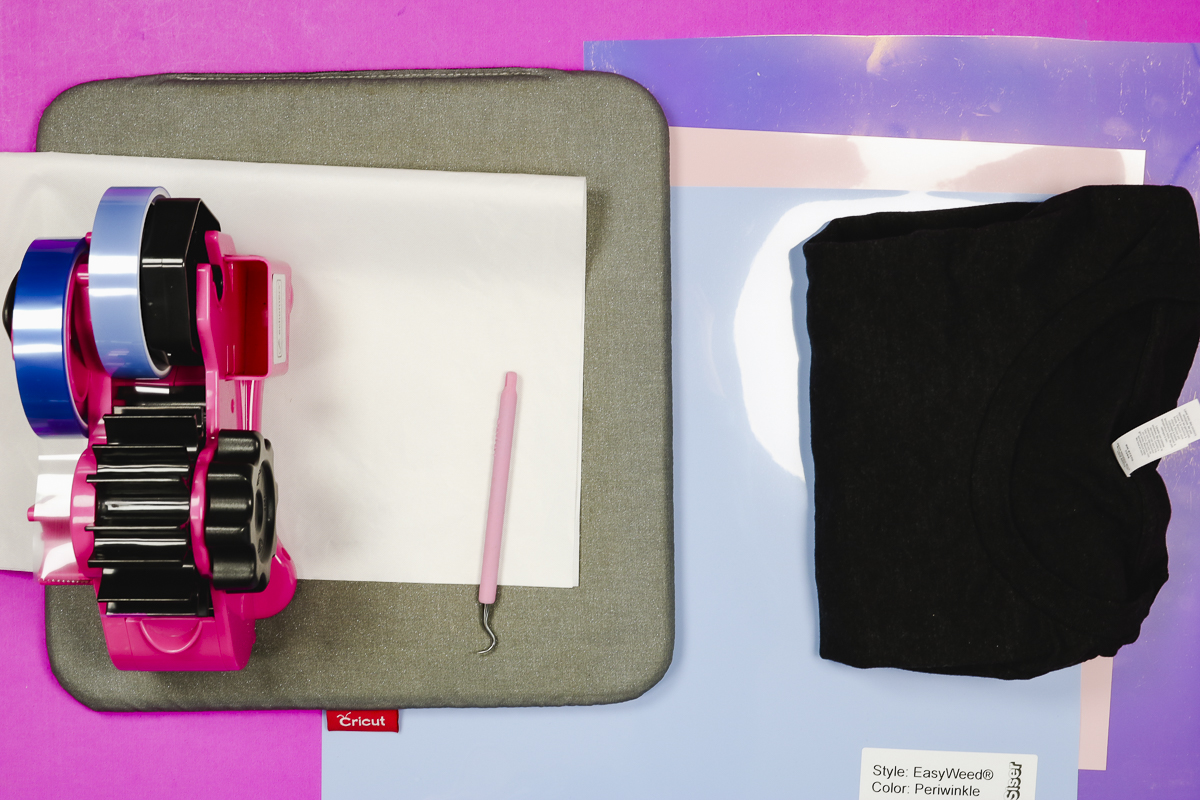
Supplies Used
Step 1. Upload Design in Cricut Design Space
The first thing we’re going to do is upload the design to Design Space.
Download the file here and in Design Space, click Upload, Upload Image, and find the file on your device. Make sure you select the SVG file for this process. If you choose a different file type, it won’t work for layering holographic HTV.
You need the SVG file type so that it uploads the different layers separately.
Step 2. Make Any Adjustments to the Design
With the file uploaded, you’ll see the design on the canvas. There are three layers, and they will all be grouped together, which will make it easy to resize the whole design.
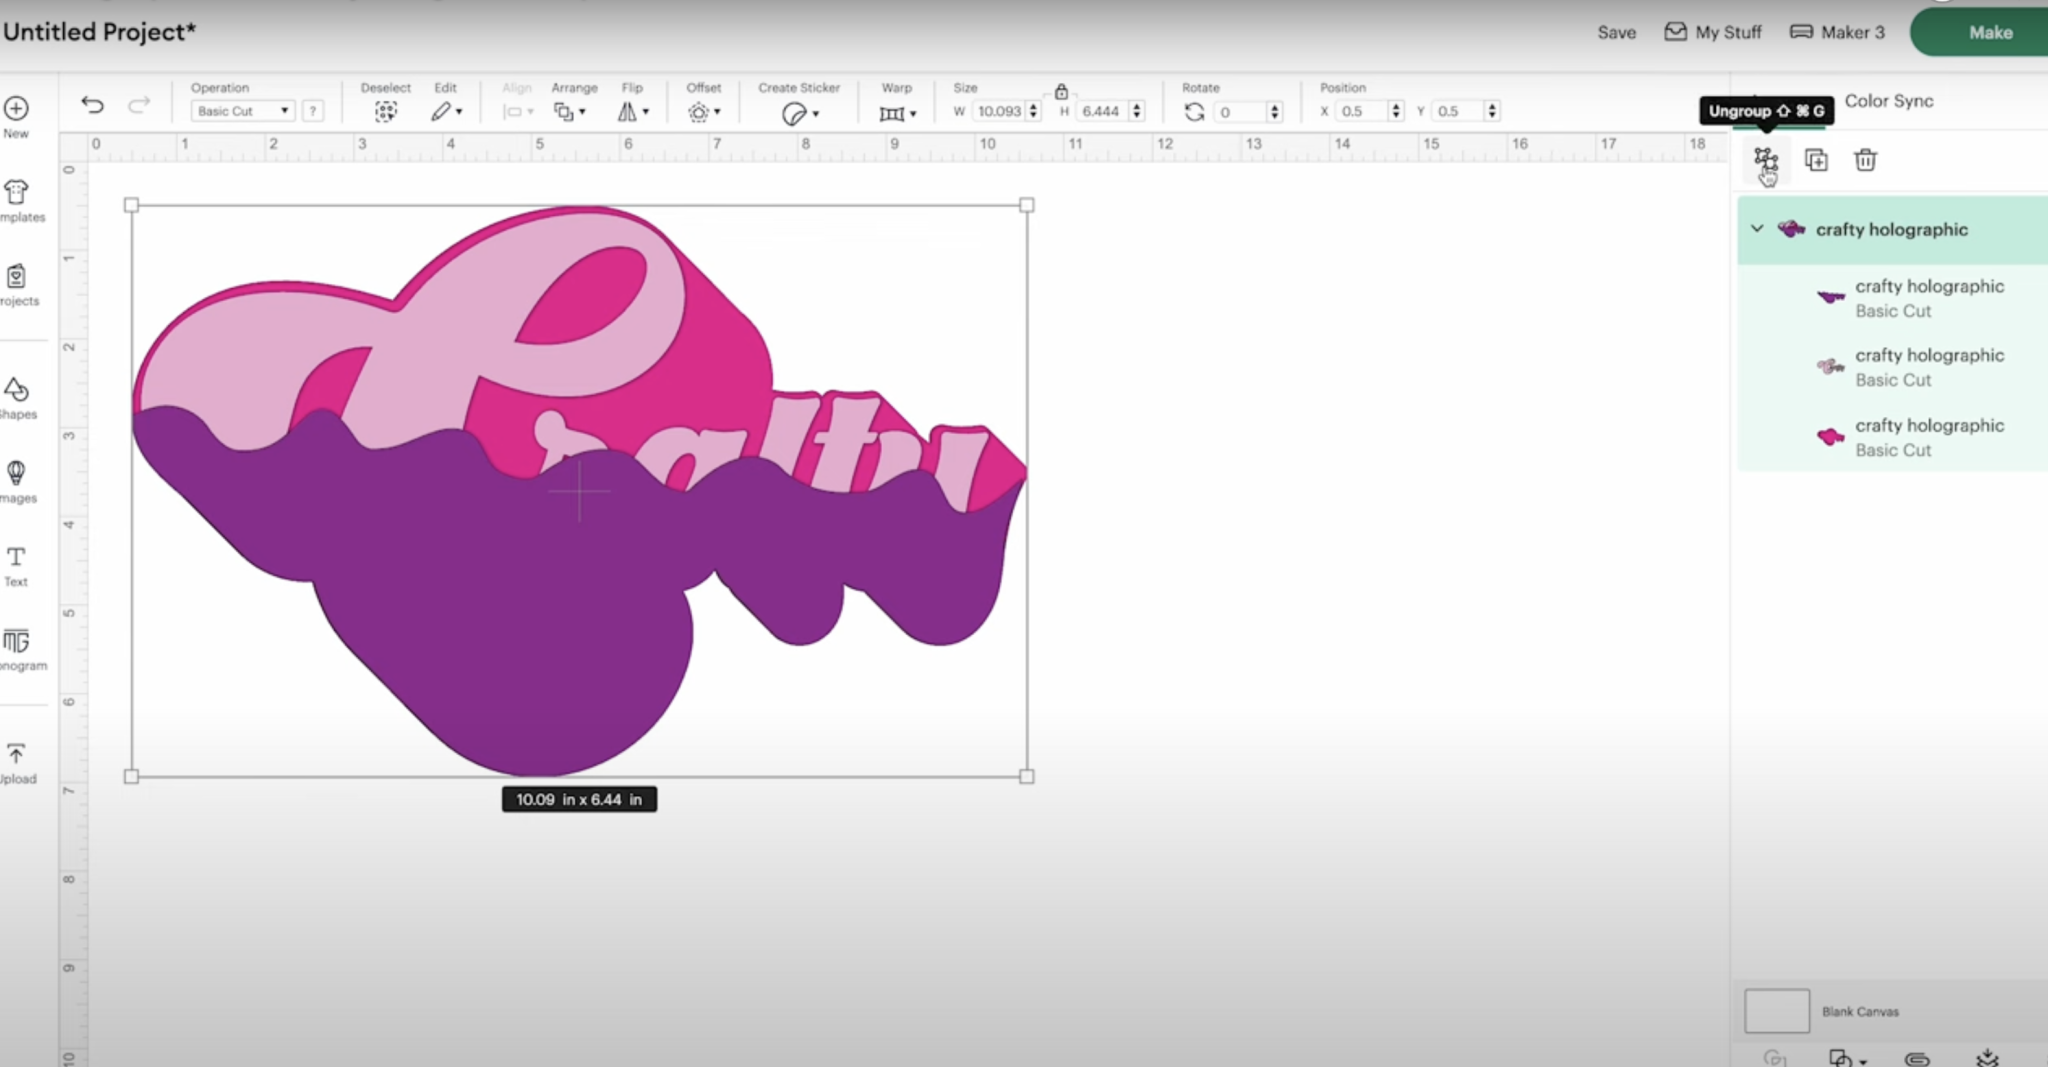
You can ungroup the design to change the colors. If you are resizing the design, make sure you select all the layers before making any changes, or the pieces won’t line up correctly.

For my design, I am cutting the word Crafty out of blue HTV and the outline out of pink HTV, so I adjusted the colors to match those materials. The holographic rainbow pearl HTV layer I am changing to purple.
Changing the colors ensures each material will be put on a different mat. The color on the screen does not impact your finished project. The design will be determined by what color HTV you put on the cutting mat.
Step 3. Cut Out Design from HTV
These HTV materials can be cut on any Cricut machine. I am using an Explore 4 to cut out the materials today.
Click Make, and I am cutting the materials on a mat. Because this is HTV, we need to mirror each of the mats so everything cuts out correctly.
Click Continue and connect to the Cricut machine you’re using. When the machine is connected, select the cut settings.
For the Siser EasyWeed materials, I used the Everyday Iron-on setting, and for the holographic pearl, I selected the Holographic Iron-on setting.
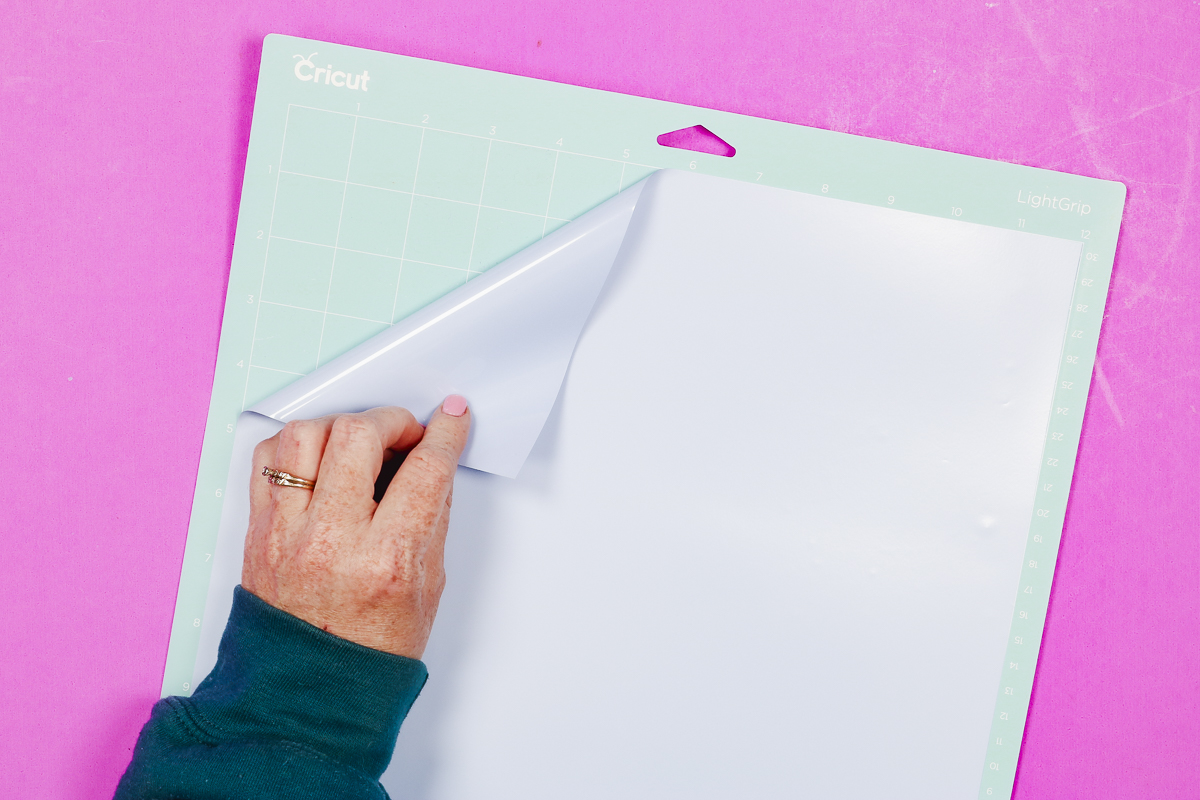
Place the material onto the mat shiny side (carrier sheet side) down. Press the materials down onto the mat really well, and we’re ready to load them into the machine.
Load the mat into the machine and press Go. When cutting is done, remove the mat and repeat the process for each material.
Step 4. Weed HTV Material
When all the materials are done cutting, we’re ready to weed away the excess material.

Weed away everything from the outside and make sure to remove any insides of letters. When everything is weeded, your material should look how you want it to on your shirt.
Step 5. Press All the HTV Layers
Next, apply all the layers of HTV to the shirt.
- Set your EasyPress to 305 degrees. NOTE: I am using my EasyPress for this project. You can use any heat press to do this.
- Preheat the shirt to remove any moisture. I folded my shirt in half to give me a centerline to help with locating the design.
- Locate the bottom layer and press at 305 degrees for about 10 seconds. If your press doesn’t cover the entire design, lift the press and press again for the full time.
- Peel back the carrier sheet. This material is a warm peel; allow it to cool for a few seconds and then remove the carrier sheet.
- Locate the second layer. Mine is another layer of regular HTV. If your design only has 2 layers, move on to step 8.
- With the second layer located correctly, press the second layer. Make sure all the HTV is covered and protected from the heat. Use a Teflon sheet or protective paper if needed. Press the whole thing for 10 seconds.
- Allow the HTV to cool for a few seconds and remove the carrier sheet.
- Locate the holographic pearl HTV on top of the other layers. This carrier sheet isn’t as sticky as the other HTV types, so I used a couple of pieces of heat-resistant tape to hold it in place. Avoid putting the heat-resistant tape on the HTV. Attach it directly to the shirt.
- Set the EasyPress to 320 degrees for 15 seconds.
- Cover any exposed HTV with a Teflon sheet or protective paper and press for the full time. If your whole design is not covered, lift the press and press again.
- Remove the Teflon sheet and allow the holographic pearl to cool before removing the carrier sheet.
Note: If you notice a line from the other carrier sheets, replace the Teflon sheet over the top and press again for a few seconds. That should eliminate the line. If needed, you can repeat this process multiple times.
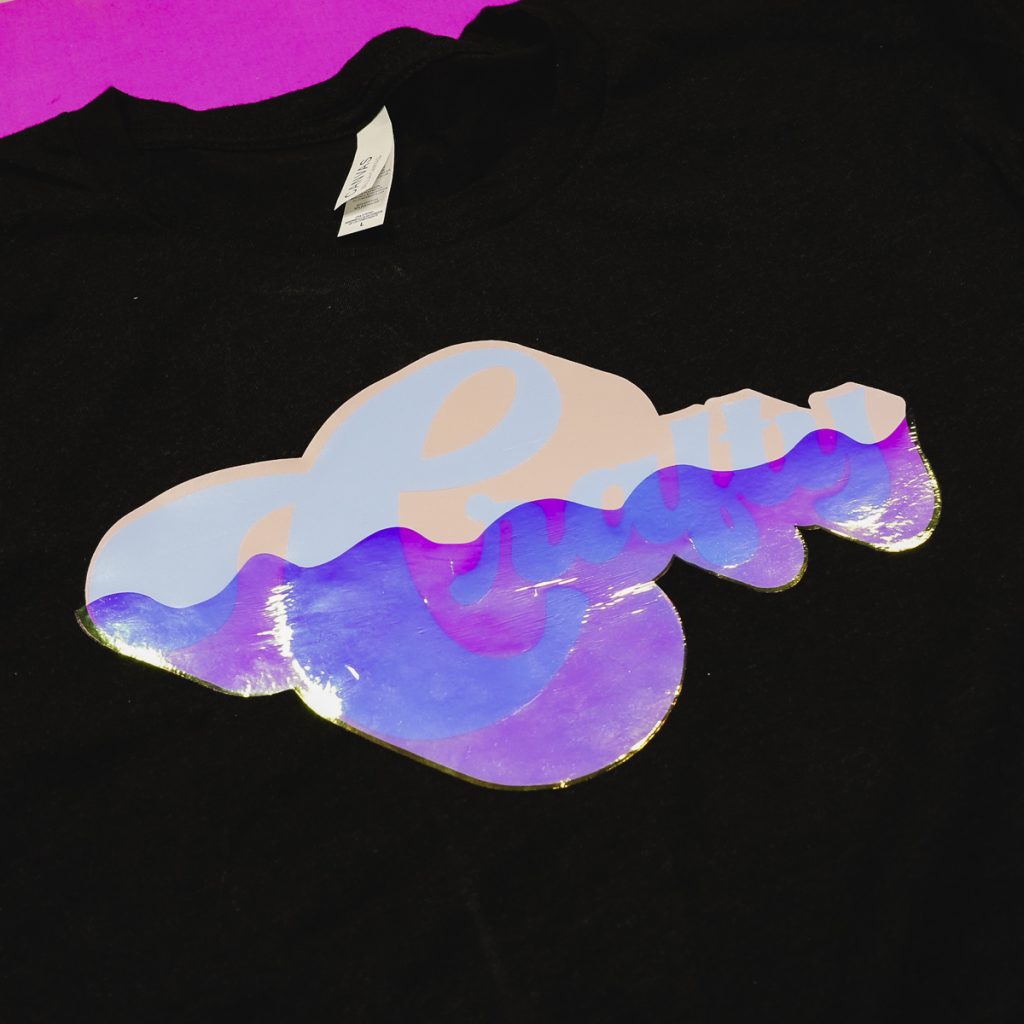
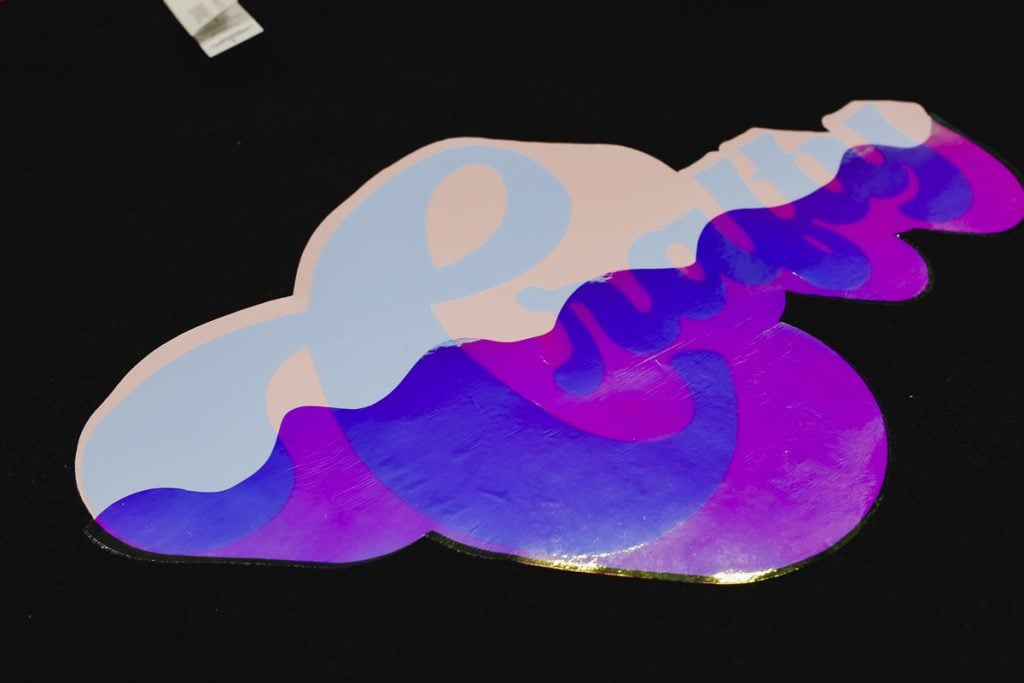
I really like how this project turned out. You can still read the word crafty, but the holographic pearl portion changes colors as the material moves and reflects light.

Comparing Layering Holographic HTV Colors
The really fun thing about this project is that you can change the colors to get different results.
Let’s look at the different color combinations and how they look on different colored shirts.
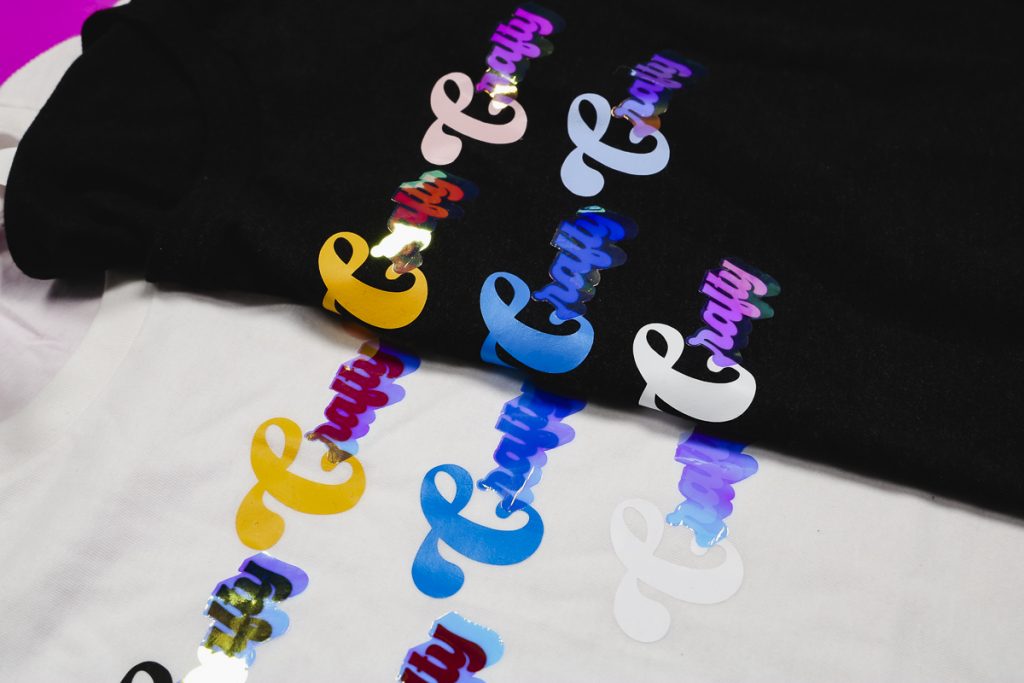
First, let’s look at the HTV on a black shirt.

I think this is a great way to make sure you’re getting the final look you want. I added a rainbow of HTV products to the shirt and then layered holographic pearl over half of the word so I can see how each color reacts to the holographic pearl, shirt color, and light.
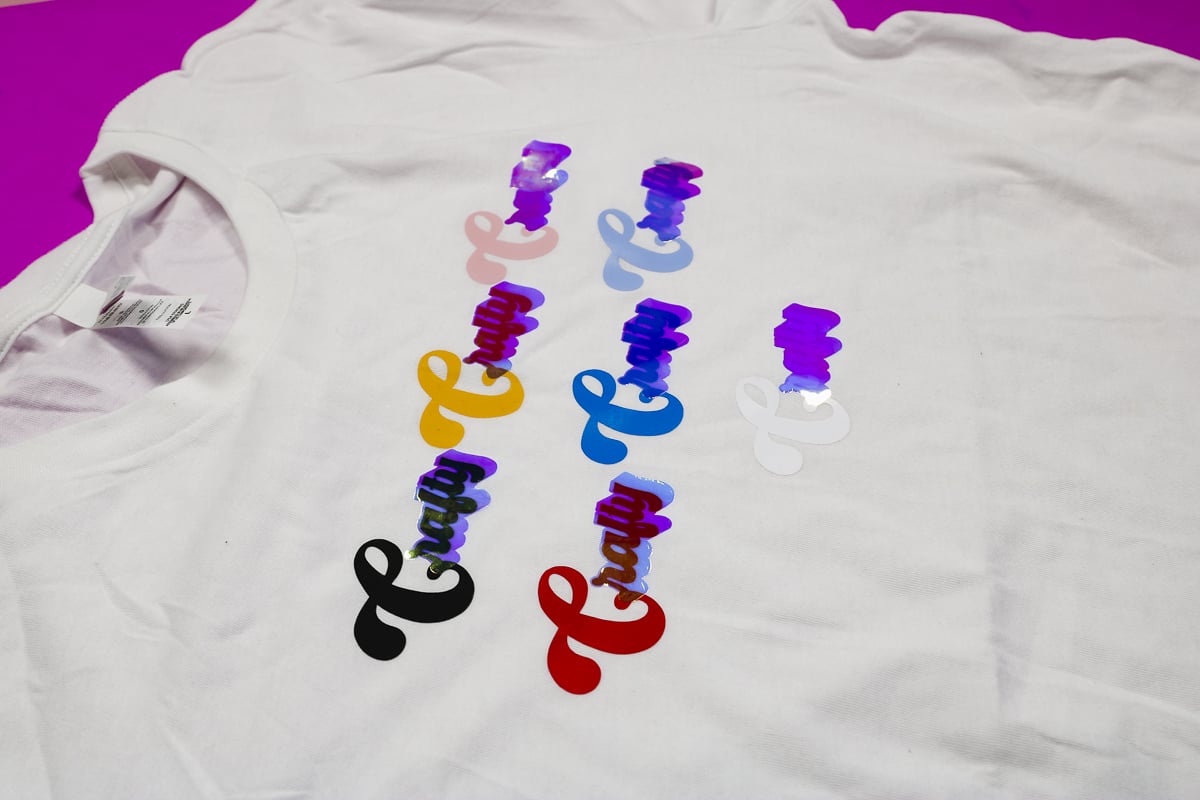
Then I repeated the process on a white shirt. If you look closely, you can see how the shirt color impacts the final look, even when the color combinations are exactly the same.
Look at the white HTV layers. On the white shirt, the holographic pearl is a more bluish purple, but on the black it has a definite pink hue to it.
Give Layering Holographic HTV a Try!
I really love the holographic pearl HTV. Whether you use it as an individual layer or add it to another material, as I did, it adds a really cool effect to projects.
Testing the pearl on the different HTV colors is a great way to make sure you’ll end up with a project that looks how you planned.
I was impressed that my design doesn’t feel stiff even with three layers of HTV. It actually feels pretty thin and flexible.
While I layered my holographic HTV, that isn’t a requirement. You can use it as a single-layer material as well, and that will give you a different look.
I hope I’ve answered any questions you have about layering holographic HTV. If you have any additional questions, leave them in the comments, and I’ll be happy to answer them for you.